
You can create as many users as required by your agency. The users will be the ATIP analysts who will process Requests and deliver documents to Requesters. You can divide tasks among users by assigning different Permissions to each user. You can also assign all of the Permissions for a Request to a single user, who will then be known as the primary user for that Request.
Click Administration > Organization Setup > Users. The Create/Search Users screen displays as shown below.
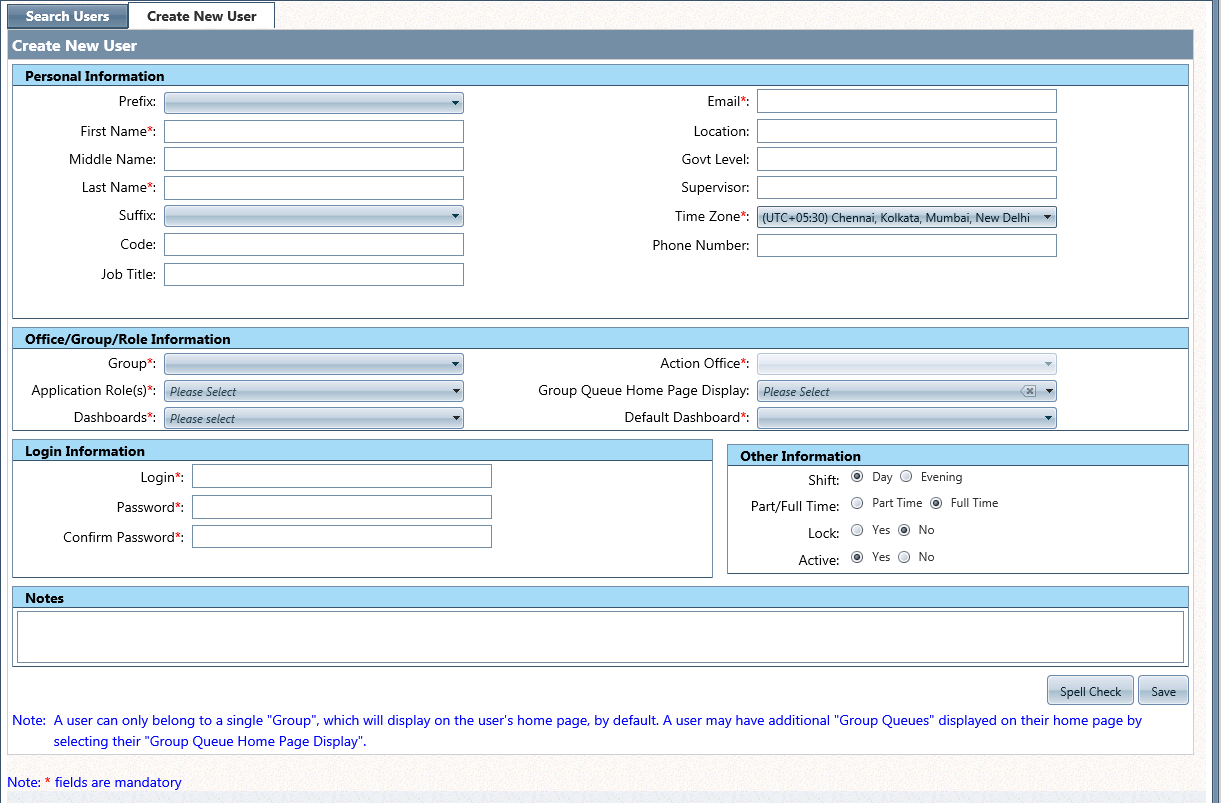
Click Create New User. The Create New User tab displays as shown below.
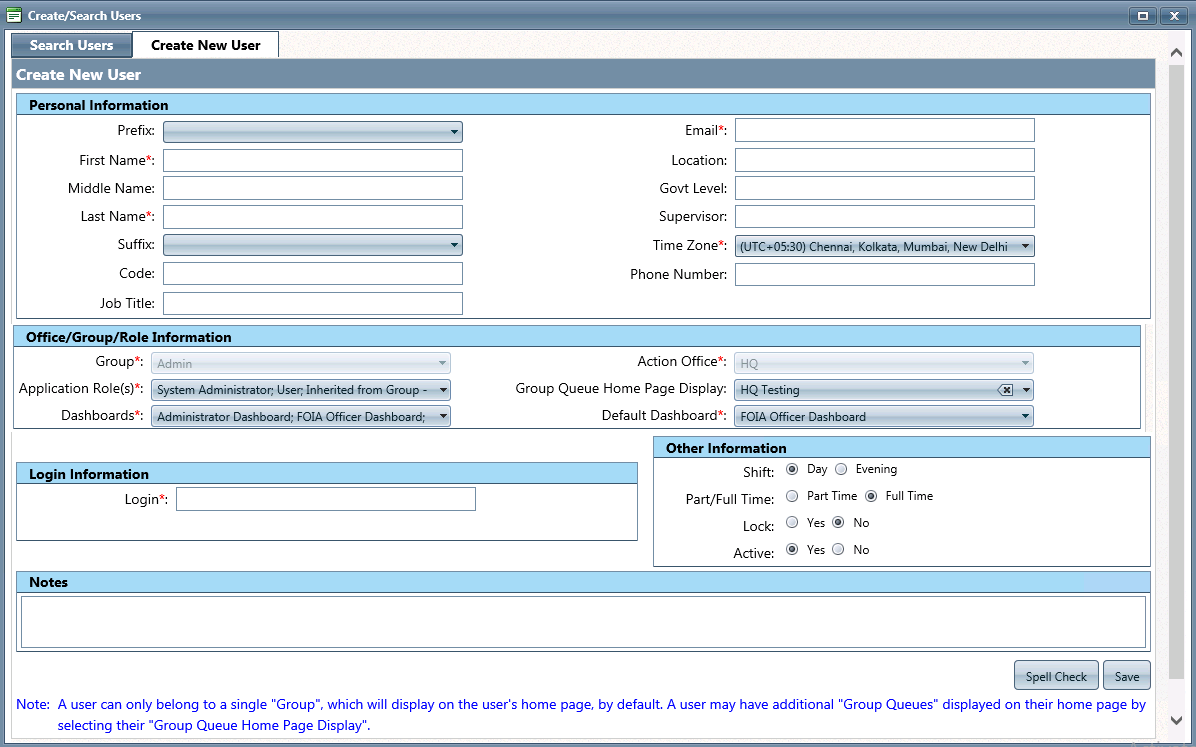
 If using Single sign-on, this screen displays as shown below:
Enter information in the fields described below per your agency's requirements.
|
Field |
Description |
|
Personal Information |
|
|
Prefix |
An abbreviation used before the user's surname. |
|
First Name |
The first name of the user. |
|
Middle Name |
The name between the first and last name of the user. |
|
Last Name |
The surname of the user. |
|
Suffix |
The abbreviation used after the users's surname. |
|
Code |
The user's abbreviated name that will be used in case Insert Fields. This data is automatically populated after the First and Last Names are entered. |
|
Job Title |
The user's official position in the agency. |
|
|
The electronic address of the user. |
|
Location |
The place where the user works or is assigned to. |
|
Govt Level |
The user's rank for the position held. |
|
Supervisor |
The name of the person the user reports to. |
|
Time Zone |
A region that has a uniform standard time. The system’s current time zone is selected by default. |
|
Phone Number |
The telephone number assigned to the user. |
|
Office/Group/Role Information |
|
|
Group |
The User Group the user is assigned to. |
|
Application Role(s) |
The Application Role(s) assigned to the User Group. |
|
Dashboards |
The dashboards assigned to the user, who may select from any of the assigned options to view from their home screen |
|
Default Dashboard |
The dashboard to display by default when logging in to ATIPXpress |
|
Action Office |
The Action Office the user is assigned to. This field is not editable and by default, displays the Action Office associated with the selected User Group. |
|
Group Queue Home Page Display |
The Group Queue(s) displayed on the Home Page. |
|
Login Information |
|
|
Login |
The unique identifier that verifies the user's identity. |
|
Password |
The security credential associated with the user to gain access to the application. |
|
Confirm Password |
Same as above. |
|
Other Information |
|
|
Shift |
The period of time the user works. |
|
Part/Full Time |
The standard or non-standard working hours. |
|
Lock |
Determines the user's access to the system. Used in conjunction with the amount of login attempts configured under Administration > Security > Security Configuration. Yes will be selected if the user fails to login to the system using their assigned credentials. Only users with the "User Management" Permission can select No for this field. |
|
Active |
Allows the user to use the application. |
|
Notes |
Any notes about the user. |
 The First Name, Last Name, Phone Number, and Job Title are provided as insert fields, and appears in future correspondence.
You cannot edit the Login once it is created. The Password should include alphanumeric characters and at least one character of a different case or one special character.
Locking a user prevents reassigning of Requests to another user. All the Requests will be reassigned to another user only when the logged-in user account is inactivated. While inactivating a user, all open and closed Requests will automatically be reassigned to the designated user.
Click Save. A verification message displays as shown below.
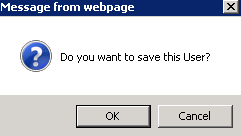
Click OK. A message displays as shown below.
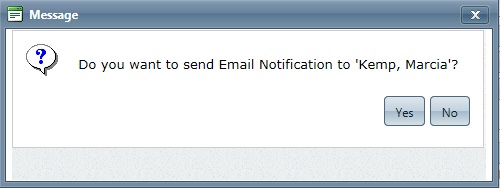
Click Yes to send the email notification, or click No to abort.
If Yes is clicked, you will be directed to the Send Email Notification window where you can prepare and send the email notification to the new user. If No is clicked, the message window will close and you will be directed to the Users screen where the newly created user displays.
A user can only belong to a single User Group, which will display on the user's Home Page by default. A user may have additional "Group Queues" displayed on their home page by selecting their "Group Queue Home Page Display".
Email notifications are sent when a new user is created in the system. Admin users or users with the required Permissions can configure notifications under Administration > System Configuration > New User Notifications.
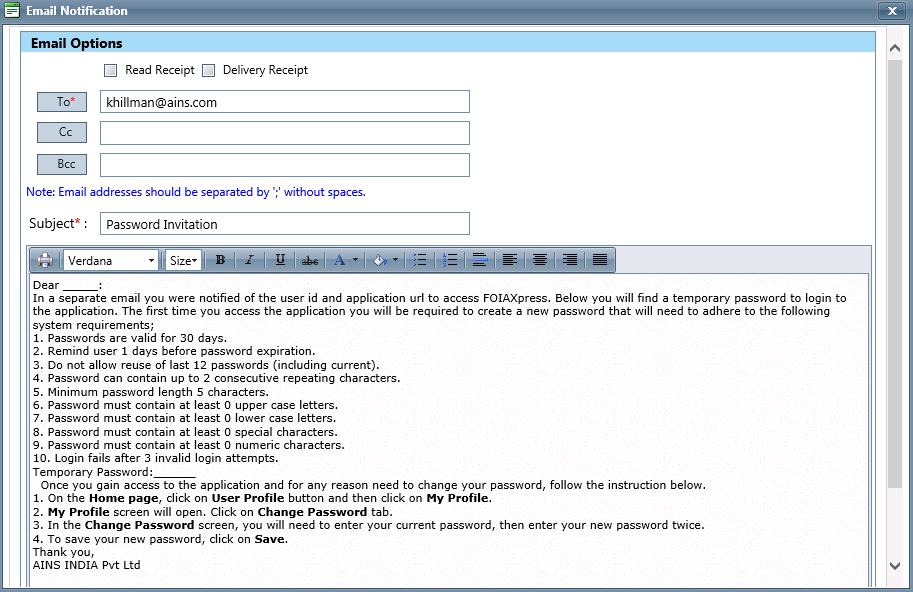
Click Yes when the New User - Email Notification message is displayed. A user notification email displays on the Email Notification screen as shown below.

Enter information in the fields described below per your agency's requirements.
|
Field |
Description |
|
Read Receipt |
When selected, notifies the sender once the message is read by the new user. |
|
Delivery Receipt |
When selected, notifies the sender once the message is received by the new user. |
|
To Email |
The email address of the new user. |
|
Cc Email |
The email address of another person/user that should receive this message. |
|
Bcc Email |
The email address of another person/user that should receive this message which will be anonymous to other recipients. |
|
Subject |
The subject of the email notification. This field is automatically populated based on the default template used. This is configured under Administration > System Configuration > New User Notifications. There are two choices: Password Invitation and User Invitation. |
|
Email Body |
This pre-defined message is based on the default email template configured under Administration > System Configuration > New User Notifications. |
Click Send Email. A Password Invitation email displays on the Email Notification screen as shown below.
Edit the email notification as needed.
Click Send Email.
 When sending an email, click To, Cc, or Bcc to display the Global Address List window, where you can select users to add as email recipients. To send a notification to a user from the Create/Search Users screen, select a user, then click Email Users to display the Email User(s) window.
Click the links below for additional information:=