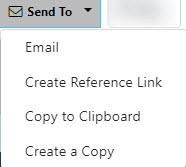
eCASE allows you to distribute documentation from the Attachments tab directly to other eCASE users via the Send To menu. The Send To menu contains four menu options:
To distribute an attachment via email:
Navigate to the Attachments tab in a case folder.
Click the checkbox next to the attachment to distribute.
Click the Send To > Email. The Send Attachment By Email window appears as shown in the following example:
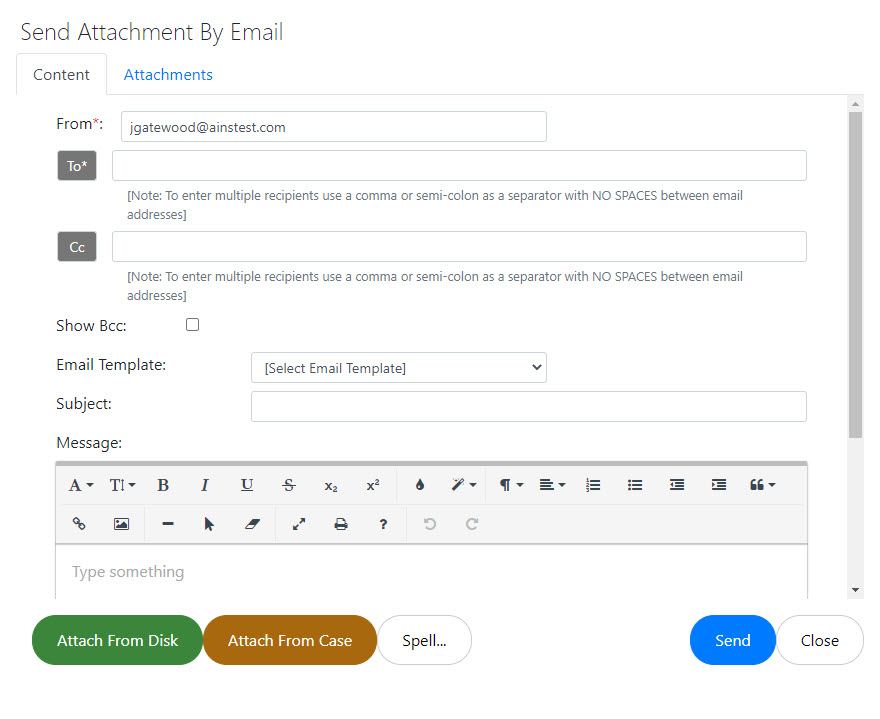
Use the fields on this screen to configure the email message to accompany the attachment. This interface is described in the Send By Email topic.
Once configured, click Send to send the attachment email.
You can create a URL which can be distributed to other system users which provide a direct link to a specific attachment. You can also link to a specific bookmark in a document.
Navigate to the Attachments tab of a case folder.
Click the checkbox next to the attachment to distribute.
Click the Send To drop down list and select Create Reference Link. The Document/Bookmark Informatrion window appears.
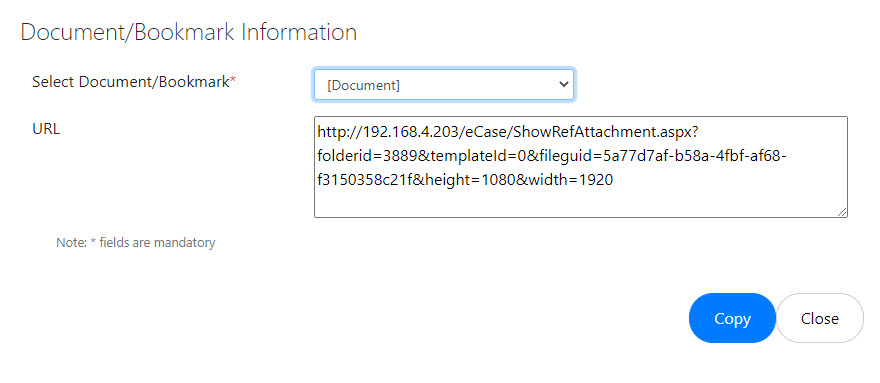
USe the Select Document/Bookmark drop-down to select a specific bookmark, or leave the default selection [Document} to link to the first page of the document.
The URL field displays the URL text. You can manually copy this link, or click the Copy button to copy the URL to your clipboard.
You can easily retrieve a URL which links directly to a specific attachment and copy it to your clipboard. To copy this link:
Navigate to the Attachments tab of a case folder.
Click the checkbox next to the attachment to distribute.
Click the Send To > Copy to Clipboard. The URL is now copied to your clipboard.
This menu option creates a copy of the selected attachment, which appears under the parent attachment. To create a copy:
Navigate to the Attachments tab of a case folder.
Click the checkbox next to the attachment to distribute.
Click the Send To drop down list and select Create a Copy. The Create a Copy window appears.
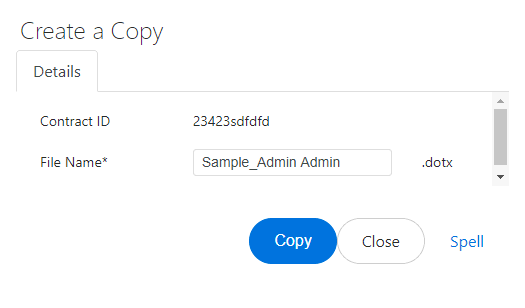
Review the proposed file name in the File Name field. If acceptable, click Copy.
The Add New Attachment window appears, and contains the information initially supplied during upload of the original document. Select Yes or No in the Prepare for Review drop down list.
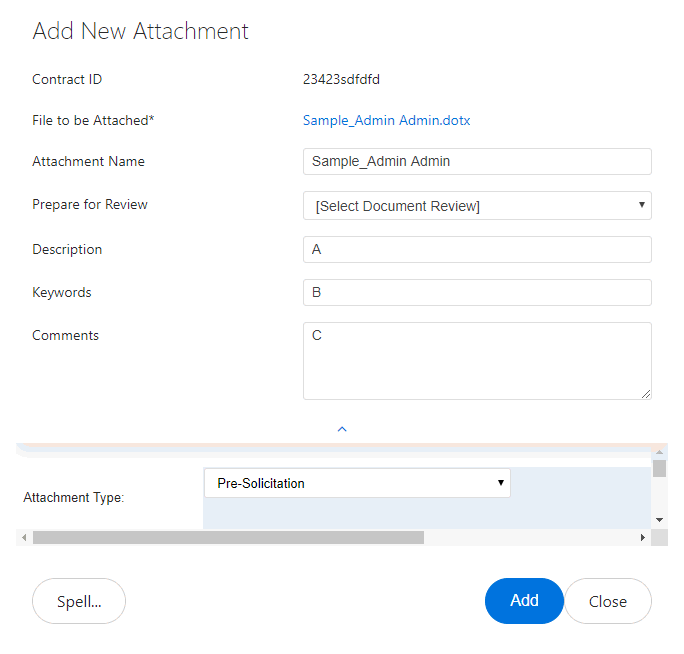
Review the information in the Add New Attachment window, and if acceptable, click Add. The document appears underneath the parent attachment within the Attachments tab.