Open the Request for which documents need to be delivered.
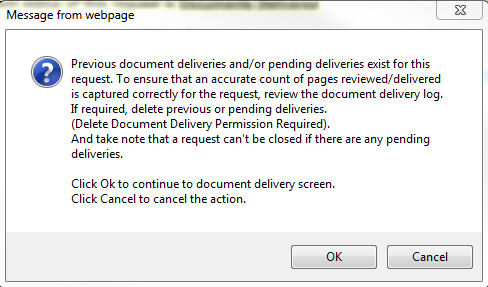
Click Deliver Documents > Deliver Documents. If documents were previously delivered, a message displays as shown below. If documents have not been previously delivered, proceed to step 4.
 s
s
Click OK to continue to the Document Delivery screen, or click Cancel to exit.
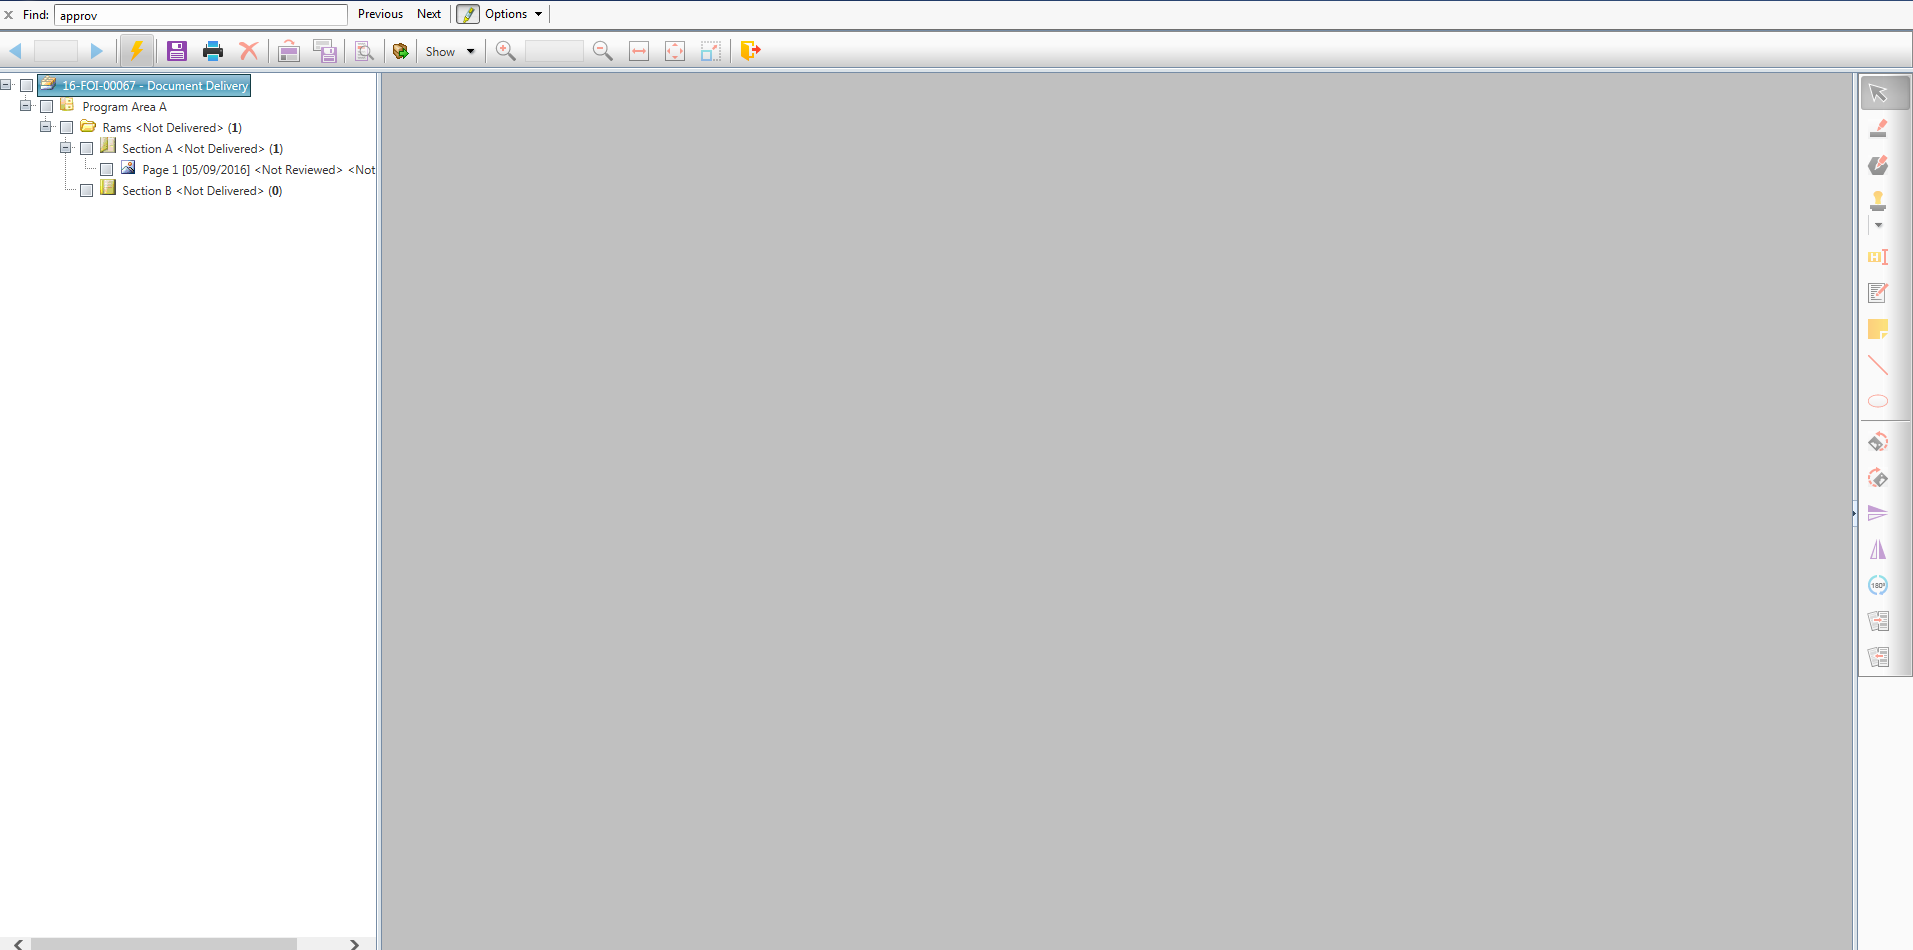
If you clicked OK or are performing an initial document delivery, the Document Delivery screen displays as shown below.
 "
"
Select the Folders/Sections/Pages you want to deliver as shown below:
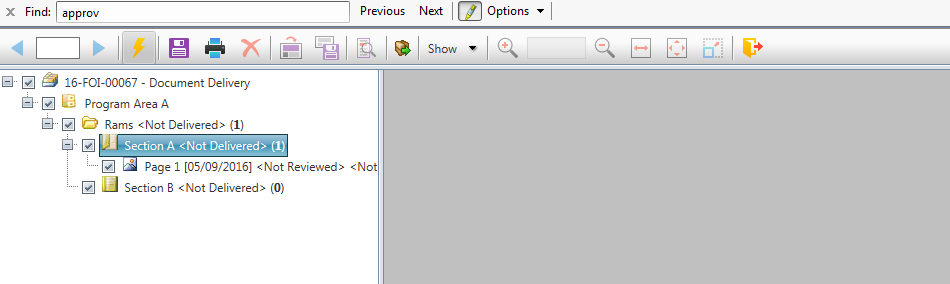
Right-click one of the selected Folders/Sections/Pages as shown below.
Click Deliver Documents. The following screen displays:
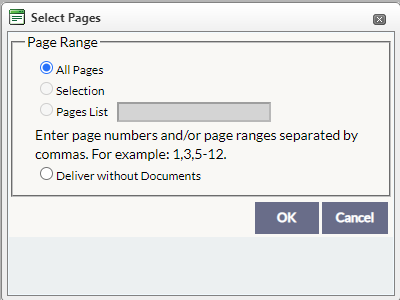
Select the Page Range (All Pages, Selection, Pages List) or select Deliver without Documents to deliver the final response letter without responsive documents.
If you select Deliver without Documents, the following message displays. If not, move to step 10.
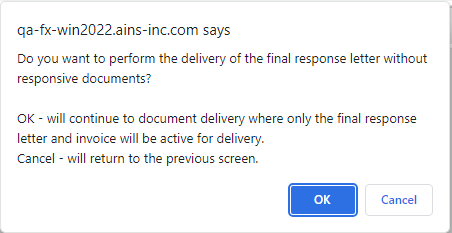
Click OK to continue or Cancel to return to the previous screen.
If you selected OK in step 10 or Deliver without Documents in step 8, the following screen displays:
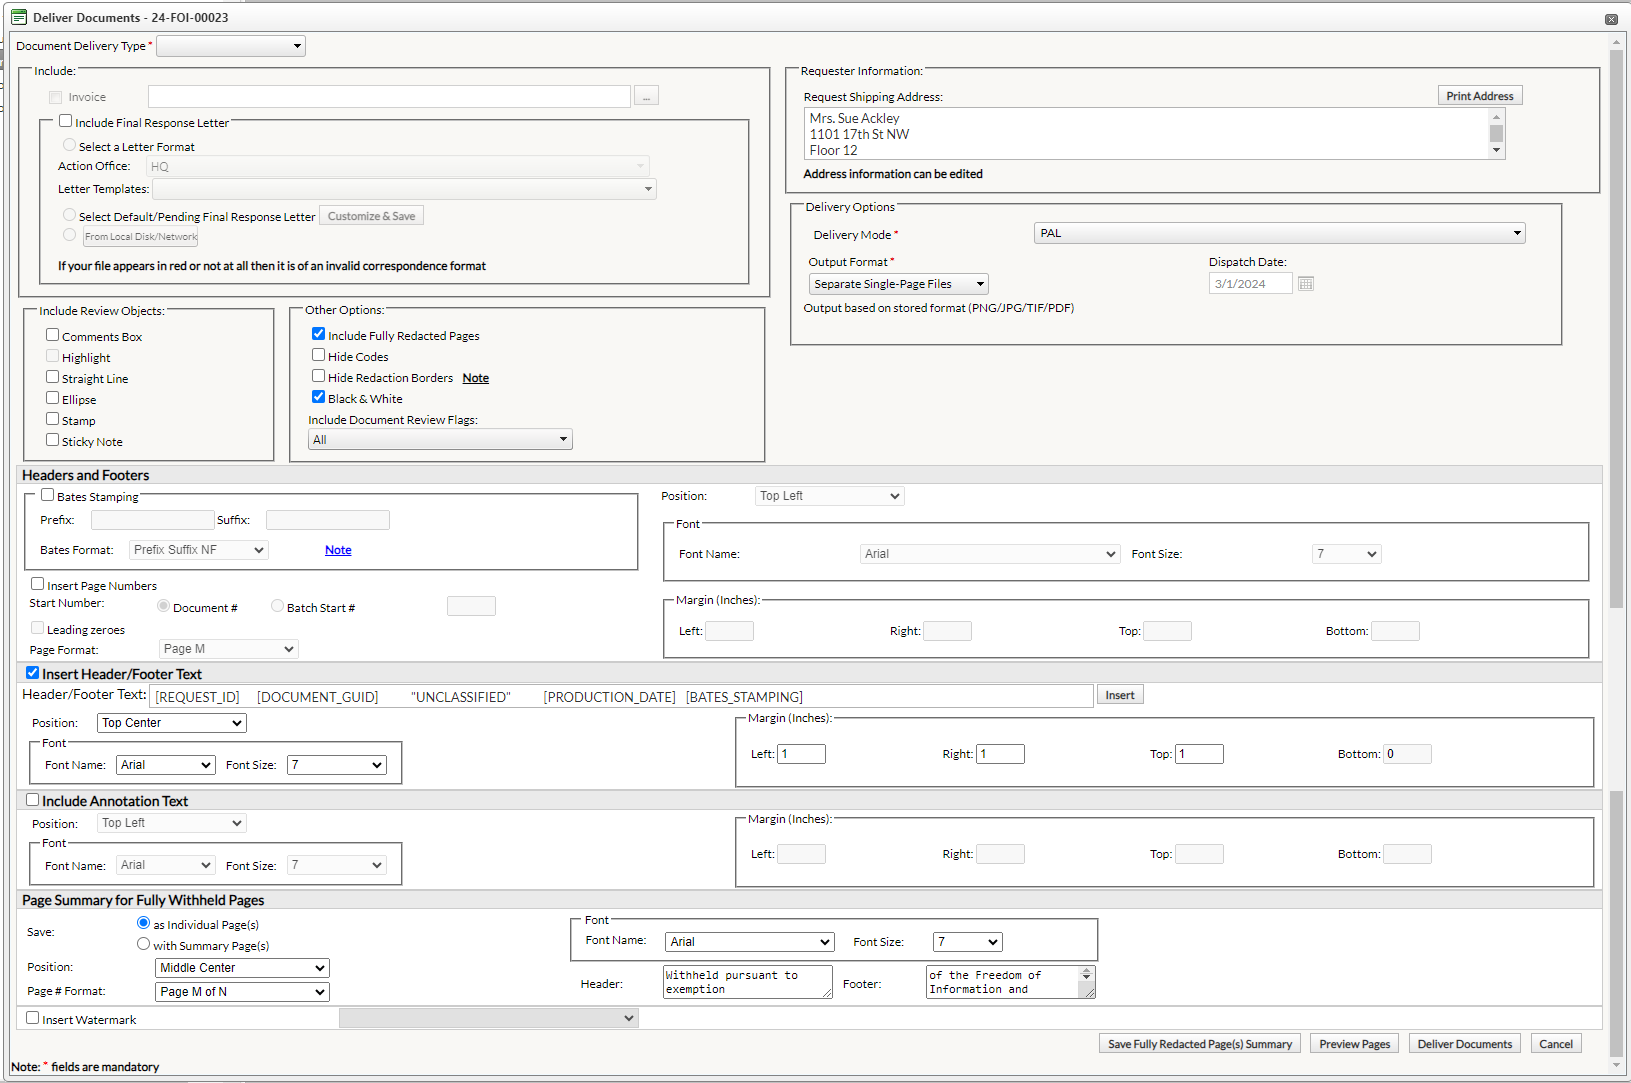
Enter information in the following fields as necessary.
|
Field |
Description |
|
Document Delivery Type |
Indicates whether the Document Delivery is the Final or Interim delivery. |
|
Include |
|
|
Invoice |
When this checkbox is selected, the invoice for the Request will be included along with the documents to be delivered and the Final Response Letter (optional). You can click the
(!!) Note: If you have selected an invoice other than the latest generated invoice and have also elected to include the Final Response Letter, the following message displays: "The invoice you included to send is not the latest invoice generated. If you choose to send the old invoice, edit the Invoice Number in the Final Response Letter (if an invoice number exists in the letter) or choose the latest invoice from the invoice list." (!!) Note: Either select the latest generated invoice or edit the invoice number in the Final Response Letter (if you have elected to include the invoice number). The selected invoice will be sent with the requested documents. |
|
Include Final Response Letter |
|
|
Include Final Response Letter |
When this checkbox is selected, a Final Response Letter will be sent to the Requester along with the documents to be delivered. |
|
Select A Letter Format |
When this checkbox is selected, a Final Response Letter will be sent to the Requester along with the documents to be delivered, with the letter utilizing an existing letter template. When selected, also be sure to select an Action Office and Letter Template. |
|
Select Default Pending Final Response Letter |
Select this option to use the Default/Pending Final Response Letter. If select, the Customize and Save button allows users to customize the selected letter format. When clicked, the Final Response Letter opens in the default correspondence editor. (!!) Note: Saving the selected correspondence letter places this Final Response Letter in the Select Default/Pending Final Response Letter format. If you have not saved the customized Final Response Letter, the default Final Response Letter template will be sent along with the requested documents. |
|
From Local Disk/Network |
Use this option to add a final response letter from a local disk or network. Select this checkbox to enable the From Local Disk/Network button which, when clicked, opens a file explorer window where an attachment can be selected. |
|
Include Review Objects |
|
|
Include Review Objects |
The review objects to be included in the final document. |
|
Other Options |
|
|
Include Fully Redacted Pages |
When selected, includes Pages that have been redacted fully, along with the partially redacted and non-redacted Pages. |
|
Hide Codes |
When selected, hides the Redaction Codes in the final document. |
|
Hide Redaction Borders |
Use this option to hide the borders of redactions areas. |
|
Black & White |
When selected, delivers the document in Black & White mode and compresses the file size. |
|
Include Document Review Flags |
Select which document review flags should be included in the delivered document set. Pages with the selected review flags applied will be included in the delivered documents. Use this drop down to select or deselect the review flags you want to use to filter the documents.
|
|
Requester Information |
|
|
Request Shipping Address |
The shipping address from the Request Details screen. |
|
Print Address |
Prints the Requester's address. |
|
Delivery Options |
|
|
Delivery Mode |
The method used for document delivery. All Delivery Modes configured under Administration > Lookups > Delivery Modes displays. |
|
Output Format |
The output format for the delivery. You can select Multi-page File (TIF), PDF Archive, PDF Image, PDF Tagged (508 Complaint), or Separate Files (Internal Format) to save each page as a separate file.
|
|
Header and Footers |
|
|
Bates Stamping |
When this checkbox is selected, Bates Stamping will be applied to the documents.
|
|
Prefix |
The first half of the Bates Stamp. |
|
Suffix |
The second half of the Bates Stamp. |
|
Bates Format |
The order in which the parts of the Bates Stamp will be arranged. |
|
Insert Page Numbers |
When this checkbox is selected, page numbers will be inserted into the documents. |
|
Start Number |
The first number in each page number. You can select Document # to number documents based on their numerical order. You can also select Batch Start # to enter the number you want to begin each page number with. |
|
Leading Zeroes |
When this checkbox is selected, page numbers will begin with "0". |
|
Page Format |
The format in which page numbers will be arranged. |
|
Position |
The location on the page on which headers and footers will be applied. |
|
Font |
The font that will be applied to headers and footers. |
|
Font Name |
The type of font that will be applied to headers and footers. |
|
Font Size |
The size of the font that will be applied to headers and footers. |
|
Margin (Inches) |
The distance from the edge of the screen headers and footers will be located. |
|
Left |
The distance from the left edge of the screen headers and footers will be located. |
|
Right |
The distance from the right edge of the screen headers and footers will be located. |
|
Top |
The distance from the top edge of the screen headers and footers will be located. |
|
Bottom |
The distance from the bottom edge of the screen headers and footers will be located. |
|
Insert Header/Footer Text |
|
|
Header/Footer Text |
Enter text to appear as the Header/Footer text. Use the Insert button to add fields to this text, including Request ID, Document GUID and more. |
|
Positon |
Position where the header/footer text appears on the page |
|
Font |
Select the Font Name and Font Size |
|
Margin |
The distance from the edge of the screen header and footer text will be located. |
|
Include Annotation Text |
|
|
Include Annotation Text |
When this checkbox is selected, prints annotation text on the pages that are to be delivered to the Requester. |
|
Position |
The location on the page on which annotation text will be applied. |
|
Font |
The font that will be applied to annotation text. |
|
Font Name |
The type of font that will be applied to annotation text. |
|
Font Size |
The size of the font that will be applied to annotation text. |
|
Margin (Inches) |
The distance from the edge of the screen annotation text will be located. |
|
Left |
The distance from the left edge of the screen annotation text will be located. |
|
Right |
The distance from the right edge of the screen annotation text will be located. |
|
Top |
The distance from the top edge of the screen annotation text will be located. |
|
Bottom |
The distance from the bottom edge of the screen annotation text will be located. |
|
Page Summary for Fully Withheld Pages |
|
|
Save |
The format in which the page summary for fully withheld pages will be saved. |
|
Position |
The location on the page on which the page summary for fully withheld pages will be located. |
|
Page # Format |
The format of page numbers on the page summary for fully withheld pages. |
|
Font |
The font that will be applied to the page summary for fully withheld pages. |
|
Font Name |
The type of font that will be applied to the page summary for fully withheld pages. |
|
Font Size |
The size of the font that will be applied to the page summary for fully withheld pages. |
|
Header |
The header that will be applied to the page summary for fully withheld pages. |
|
Footer |
The footer that will be applied to the page summary for fully withheld pages. |
|
Insert Watermark |
When this option is selected, you can select a watermark to insert into the page summary for fully withheld pages. |
 icon to display the list of all invoices that have been generated for the Request.
Click Deliver Documents. A verification message displays.
Click OK to deliver the documents. A Job Progress screen displays as shown below.
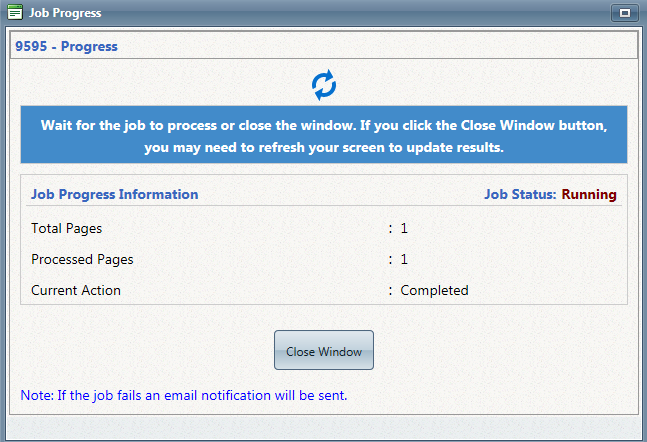
When the Job Status is "Completed", click Close Window, then close the Document Delivery screen.
After closing the Document Delivery screen, a record of the Document Delivery will be saved in the Document Delivery Log, and the Request Status will change to "Documents Delivered."