Start/Stop the Clock

Click below to move to a specific heading in this topic HideClick below to move to a specific heading in this topic Show
  1. Start/Stop the Clock
    1. Steps to Stop the Clock
    2. Steps to Start the Clock

Users can perfect a Request at any stage during its processing, however, once a Request has passed the Perfecting stage (Documents Added, Disposition Accepted, or Documents Delivered stage), and is again being perfected, the calculation of the remaining days to complete and close the Request will stop. After a Request has been perfected, the Request will be in "On Hold-Need Info/Clarification" status. The Target Date will be re-calculated. (See Request Configuration for more information). When the Request status is "Documents Added", you can perfect the Request again to see if there are more records applicable to it. After perfecting the Request again, the target date will resume.

(!!) Note: It is recommended to avoid perfecting on a weekend or holiday if you use business days for your Target Date calculation.

Steps to Stop the Clock

  1. Open the Request for which you want to stop the clock.

  2. Click Stop the Clock. The Stop the Clock screen displays as shown below.

    stopclk

  3. Enter information in the fields described below as necessary.

    Field

    Description

    Reason for Stopping the Clock

    The reason for stopping the clock: Request Not Perfected, Fee Related Reason and Other Reason.

    Stop Clock Effective Date

    The date on which the Request's clock is being stopped.

    Options


    Change Review Status

    Change the review status. When checked, a drop-down menu appears, from which you can select a new review status.

    Create Task Reminder

    Create a task reminder for the Request.

    Send Correspondence

    Send correspondence to the Requester, notifying them that the clock has stopped.

    Notes


    Notes

    Any relevant notes.

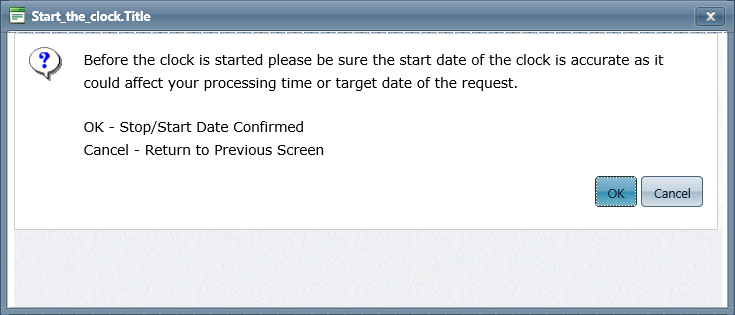
  4. Click Stop the Clock. A verification message displays as shown below. Read this information carefully as it describes the impact of the action given the current status and processing. The message below is show as an example:

  5. Click OK. A second verification message appears as shown below:

  6. Click OK.

Steps to Start the Clock

  1. Open the Request for which you want to start the clock.

  2. Click Start the Clock. The Start the Clock screen will be displayed as shown below.

    strttheclk

  3. Enter information in the fields described below as necessary.

    Field

    Description

    Clock Start Date

    The date on which the Request's clock will restart to continue Request processing.

    Notes

    Any relevant notes.

  4. Click Save. A verification message displays as shown below. Read this information carefully as it describes the impact of the action given the current status and processing. The message below is show as an example:

  5. Click OK. A second verification message displays, as shown below:

  6. Click OK.