Open the Request for which you'd like to receive correspondence.
Click Correspondence > Receive Correspondence. The Receive Correspondence screen displays as shown below.
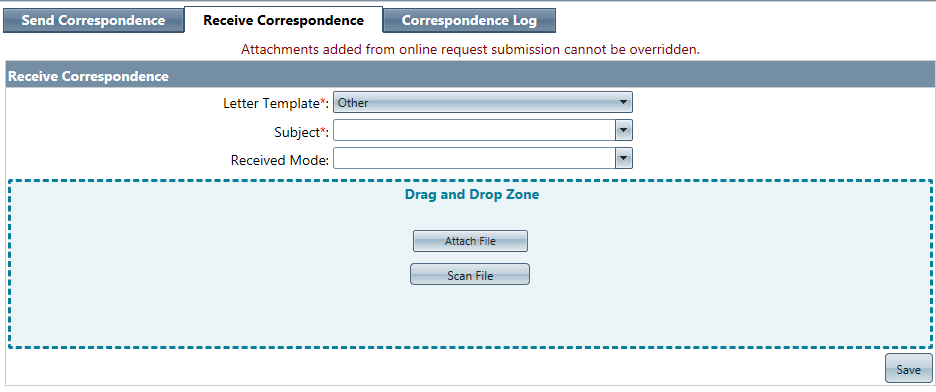
Complete the following fields as necessary:
|
Field |
Description |
|
Letter Template |
Letter Template, as selected from the drop-down menu. You can use the letter templates created under Administration > System Configuration > Correspondence Templates. By default, there are four available templates: Expedite Description, Fee Waiver Description, Request Description, and Other. |
|
Subject |
Correspondence subject, either manually entered or selected from the available subjects from the drop-down menu. |
|
Received Mode |
Mode in which the correspondence was received. Select the Received Mode from the drop-down menu. |
|
Attach File |
Attach a file to the correspondence. Click Attach File, then select the file you want to attach. |
|
Scan File |
Scan a file to include with the correspondence. Click Scan File and the Scan screen will open, from which you can scan an item directly into a Request folder. You can use the Duplex option (if available on your scanner) to scan the backside of the page.
|
Click Save to save the correspondence file.