Hovering your mouse over each selection on the Reports tab will show a sample of each report type
These reports are generated based on the data sources and cluster sets currently in use.
Request Document Processing Report
Follow the steps below to access the Request Document Processing Report:
Open a Request to which documents have been added, then click Electronic Document Review > EDR Document Review.
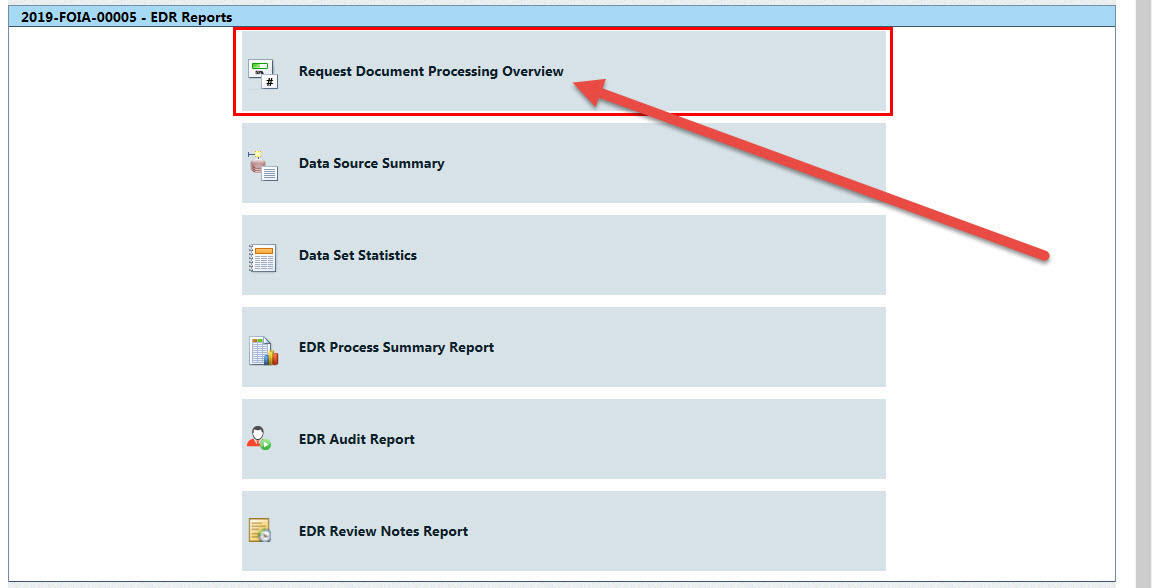
Click the Reports tab. The Reports screen appears. Click Request Document Processing Overview as shown below:
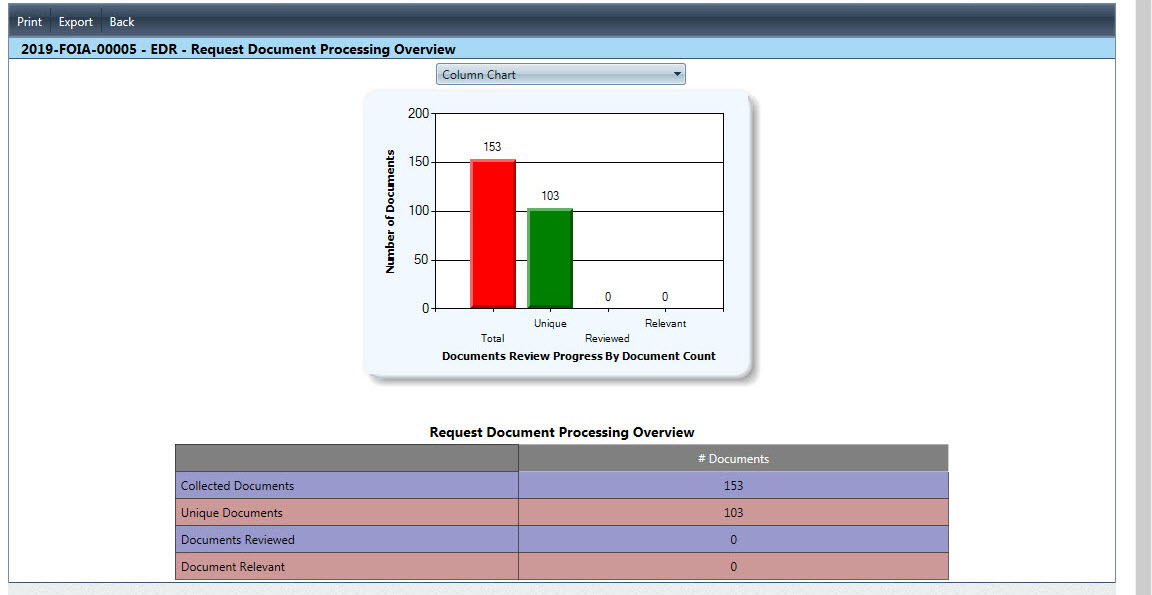
After clicking Request Document Processing Overview, the EDR - Request Document Processing Overview screen displays as shown below.
The actions available on this page are detailed in the table below:
Action
Description
Chart View
Click the drop-down menu to select the chart type. Options include Column Chart and Line Chart. Column Chart will be selected by default.
Print
Click Print to send the report to your local/network printer.
Export
Click Export to export the report. Options include Excel, Word, and HTML formats. You can click Save to save a local copy in the selected format, or click Email to send a copy of the report via email. See Print/Email/Export Reports for steps to Email reports
Back
Return to the previous screen
Close
Close the report window
Data Source Summary Report
Follow the steps below to access the Data Source Summary Report:
Open a Request to which documents have been added, then click Electronic Document Review > EDR Document Review.
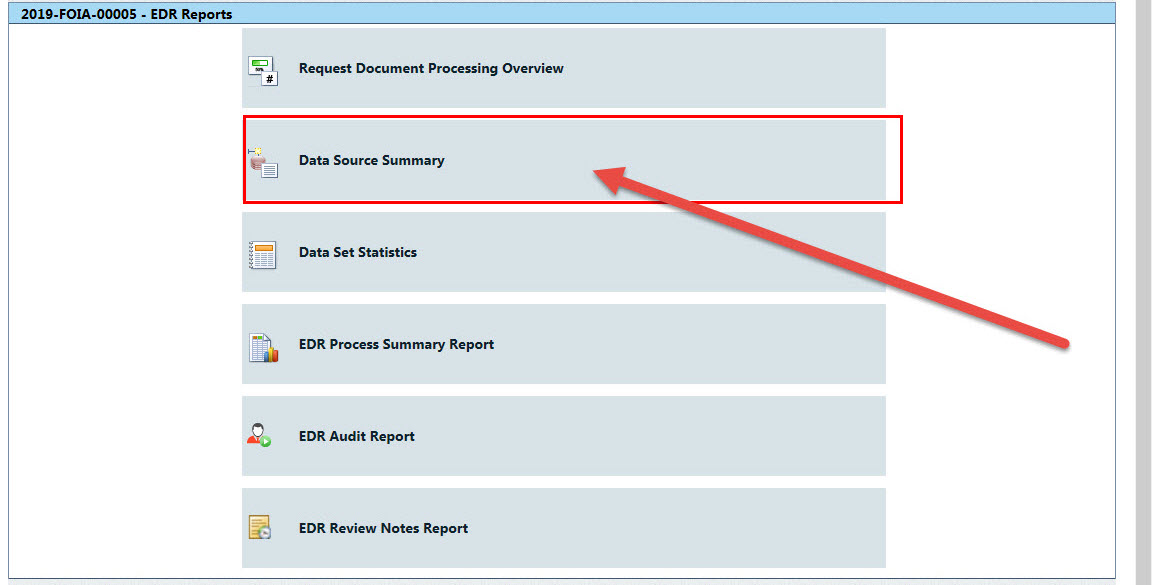
Click the Reports tab. The Reports screen appears. Click Data Source Summary as shown below:
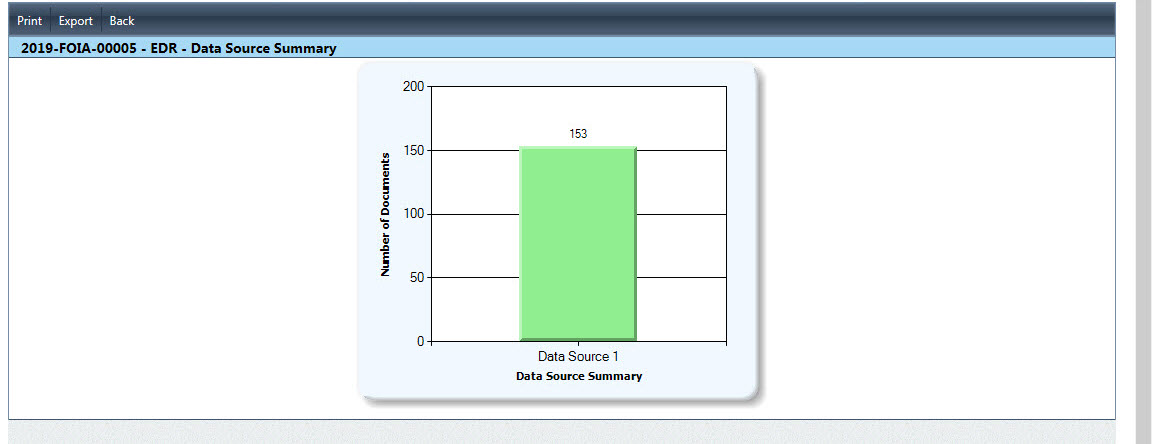
After clicking Data Source Summary, the Data Source Summary screen displays as shown below.
The actions available on this page are detailed in the table below:
Action
Description
Print
Click Print to send the report to your local/network printer.
Export
Click Export to export the report. Options include Excel, Word, and HTML formats. You can click Save to save a local copy in the selected format, or click Email to send a copy of the report via email. See Print/Email/Export Reports for steps to Email reports
Back
Return to the previous screen
Close
Close the report window
Data Set Statistics Reports
Follow the steps below to access the Data Set Statistics Reports:
Open a Request to which documents have been added, then click Electronic Document Review > EDR Document Review.
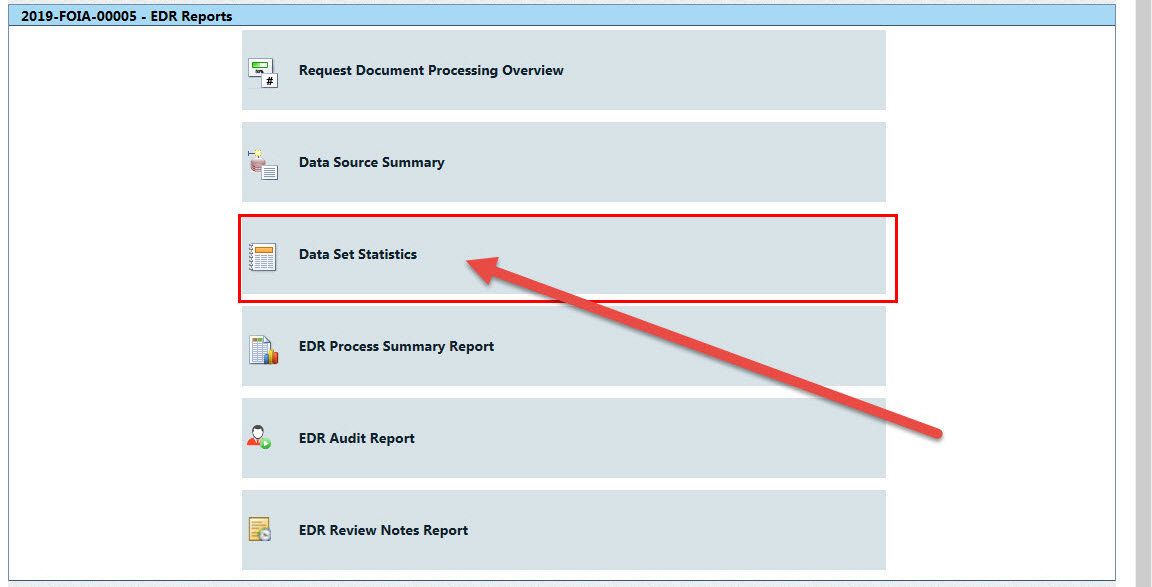
Click the Reports tab. The Reports screen appears. Click Data Set Statistics as shown below:
After clicking Data Set Statistics, the Data Set Statistics screen will display as shown below.
The information displayed on this screen is described in the table below:
Field
Description
Document count
Number of documents included in the data set
Unique document count
Number of unique (non-duplicate) documents in the data set
Reviewed count
Number of documents in the data set that have been reviewed
Relevant count
Number of documents in the data set that have been marked as relevant
File size total
Total size of all files included in the data set
Text size total
Total size of text files included in the data set
EDR Process Summary Report
Open a Request to which documents have been added, then click Electronic Review > EDR Document Review.
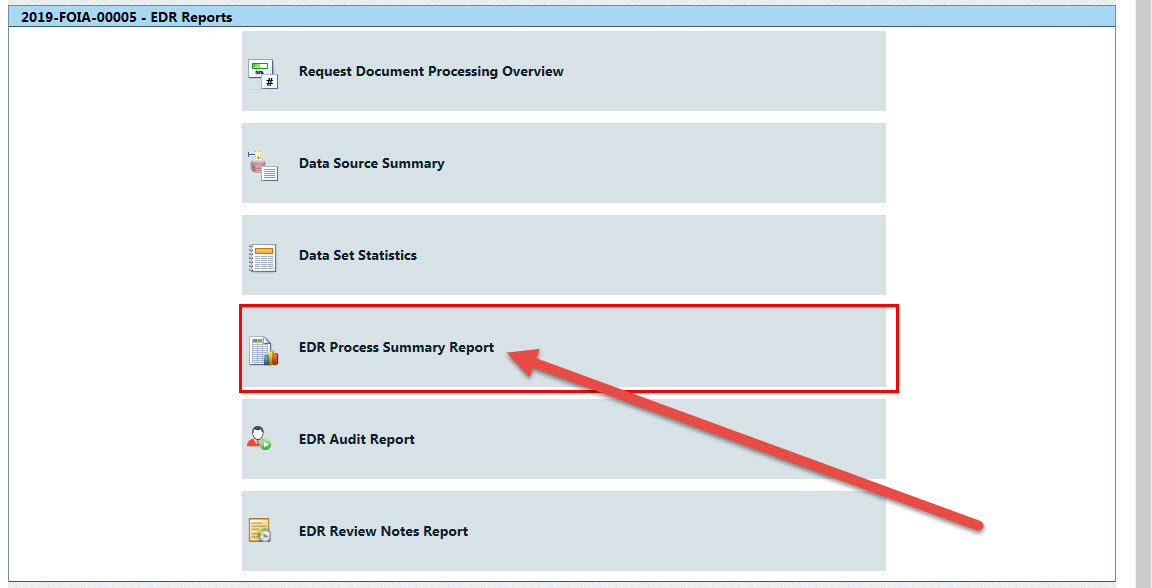
Click the Reports tab. The Reports screen appears. Click EDR Process Summary Report as shown below:
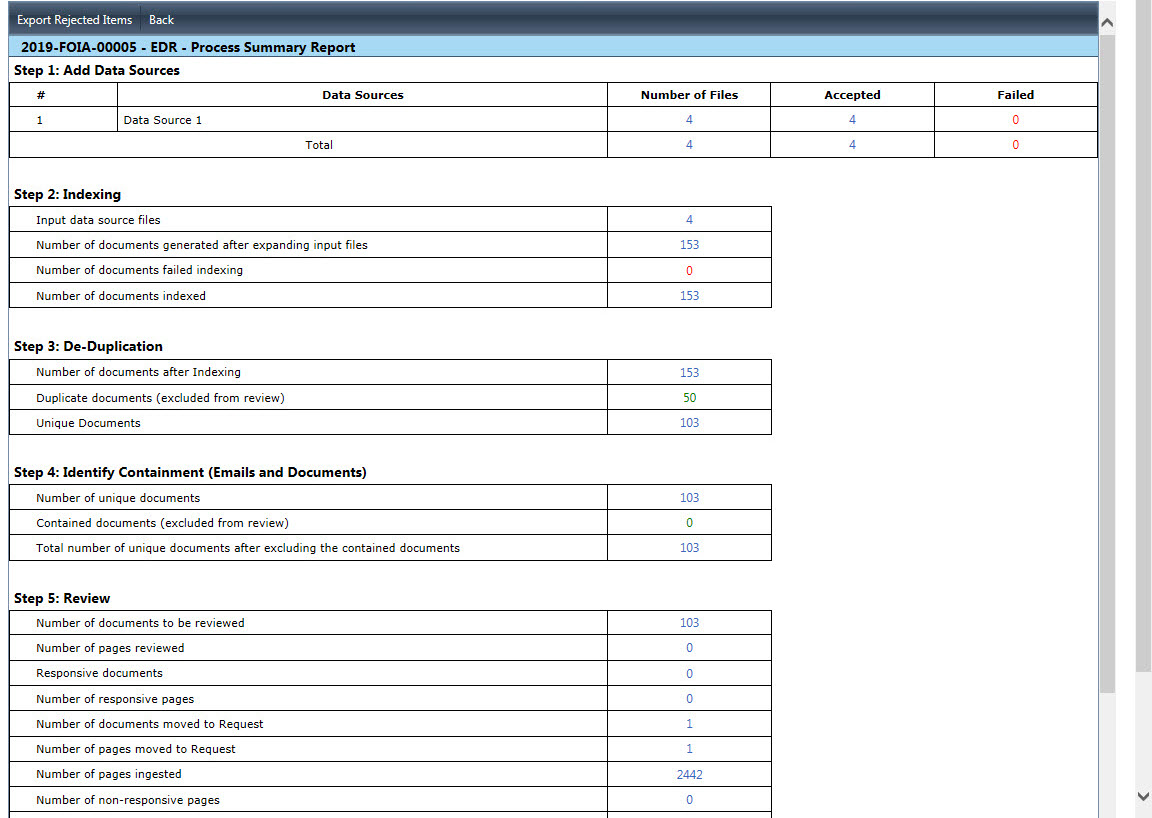
After clicking EDR Process Summary Report, The EDR Process Summary Report screen displays as shown below.
Export Rejected Items
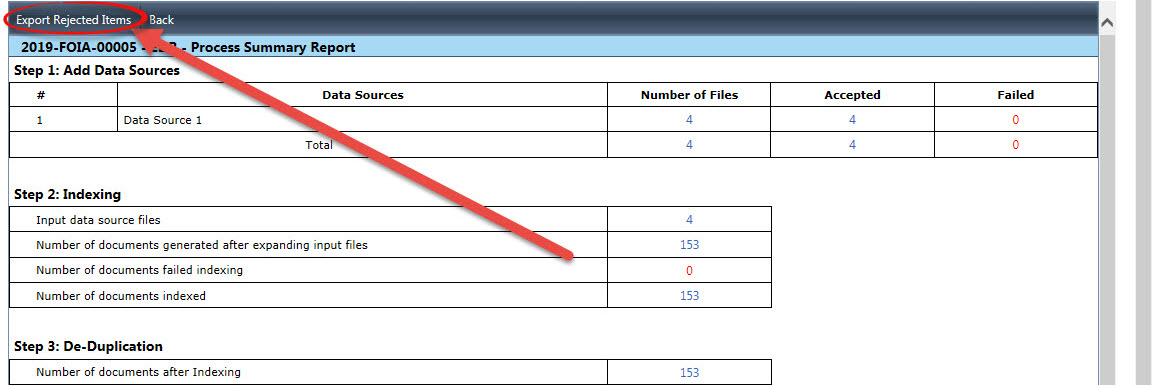
Occasionally, EDR will encounter errors when ingesting documents and will reject certain items from the ingestion process. In these cases, any rejected items from the data set are logged in an exportable format. To review any rejected items, first access the EDR Process Summary Report, and locate the Export Rejected Items button as shown below:
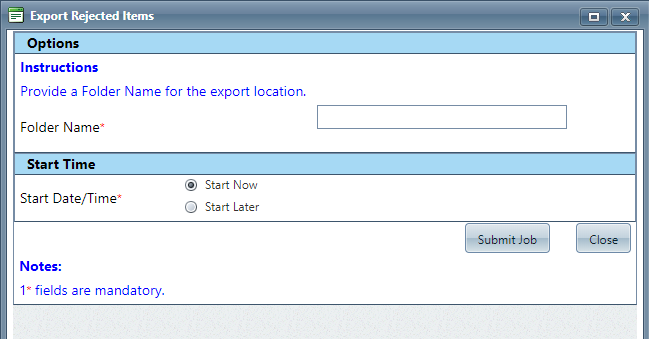
Click Export Rejected Items to export the rejected items. The Export Rejected Items screen displays as shown below.
Enter a Folder Name.
Select the Start Date/Time as either Start Now or Start Later.
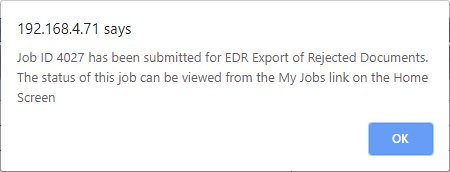
Click Submit Job. A confirmation message displays as shown below.
Click OK.
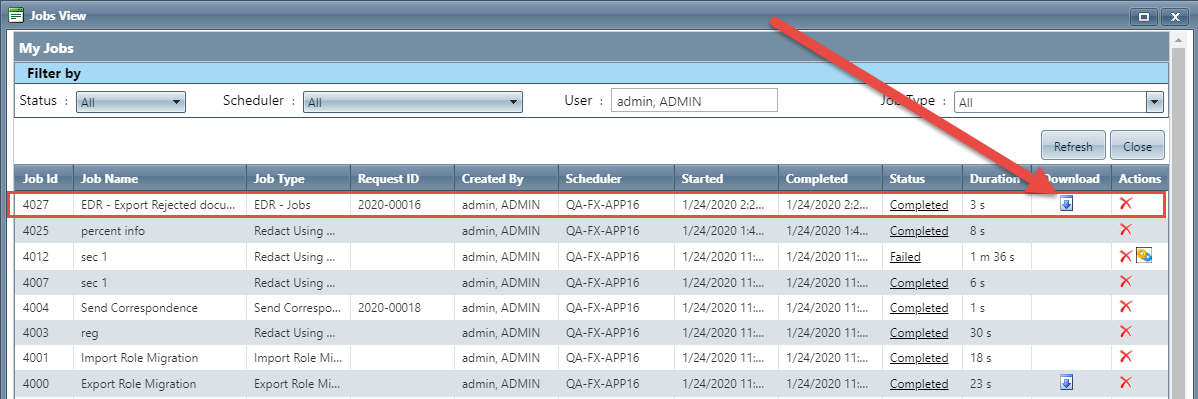
Back in FOIAXpress, click User Menu > My Jobs to view the Exported Items job. When complete, the job displays as shown in the following example:
Use the Download link (highlighted above) to download a .zip file containing the rejected items.
EDR Audit Report
Open a Request to which documents have been added, then click Electronic Document Review > EDR Document Review.
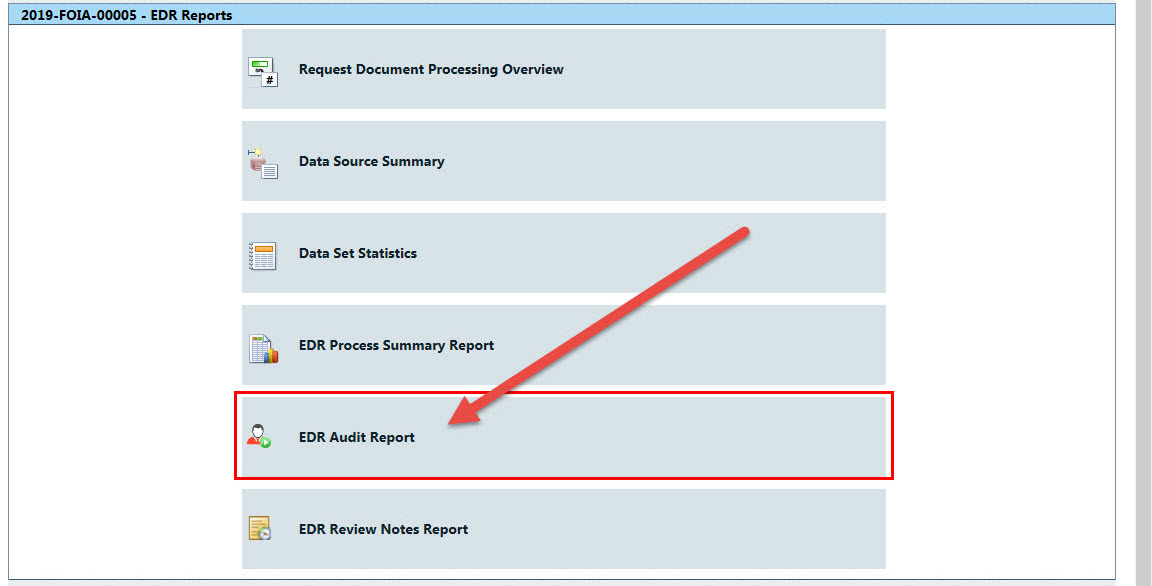
Click the Reports tab. The Reports screen appears. Click EDR Audit Report as shown below:
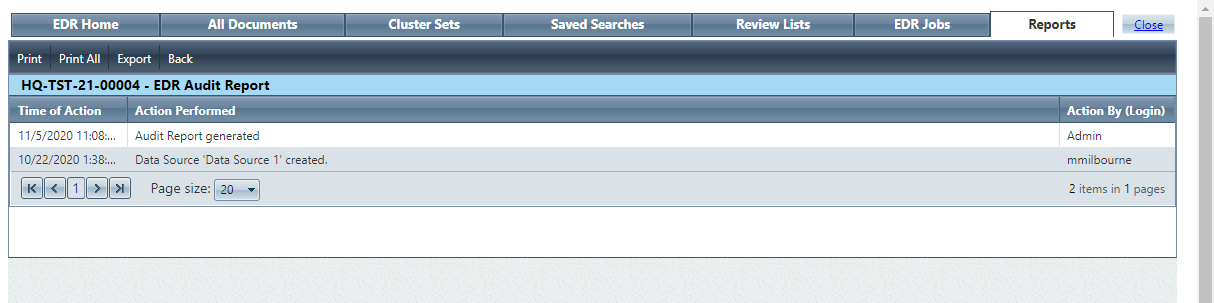
After clicking EDR Audit Report, the EDR Audit Report screen displays as shown below.
The fields on this screen are described in the table below:
Field
Description
Time of Action
Time the action was performed
Action Performed
EDR action that was performed
Action By (Login)
Login name of the user who performed the action
The actions available on the EDR Audit Report screen are described in the table below:
Action
Description
Print
Print all entries on the current page
Print All
Print all entries for this report
Export
Click Export to export the report. Options include Excel, Word, and HTML formats. You can click Save to save a local copy in the selected format, or click Email to send a copy of the report via email. See Print/Email/Export Reports for steps to Export/Email reports
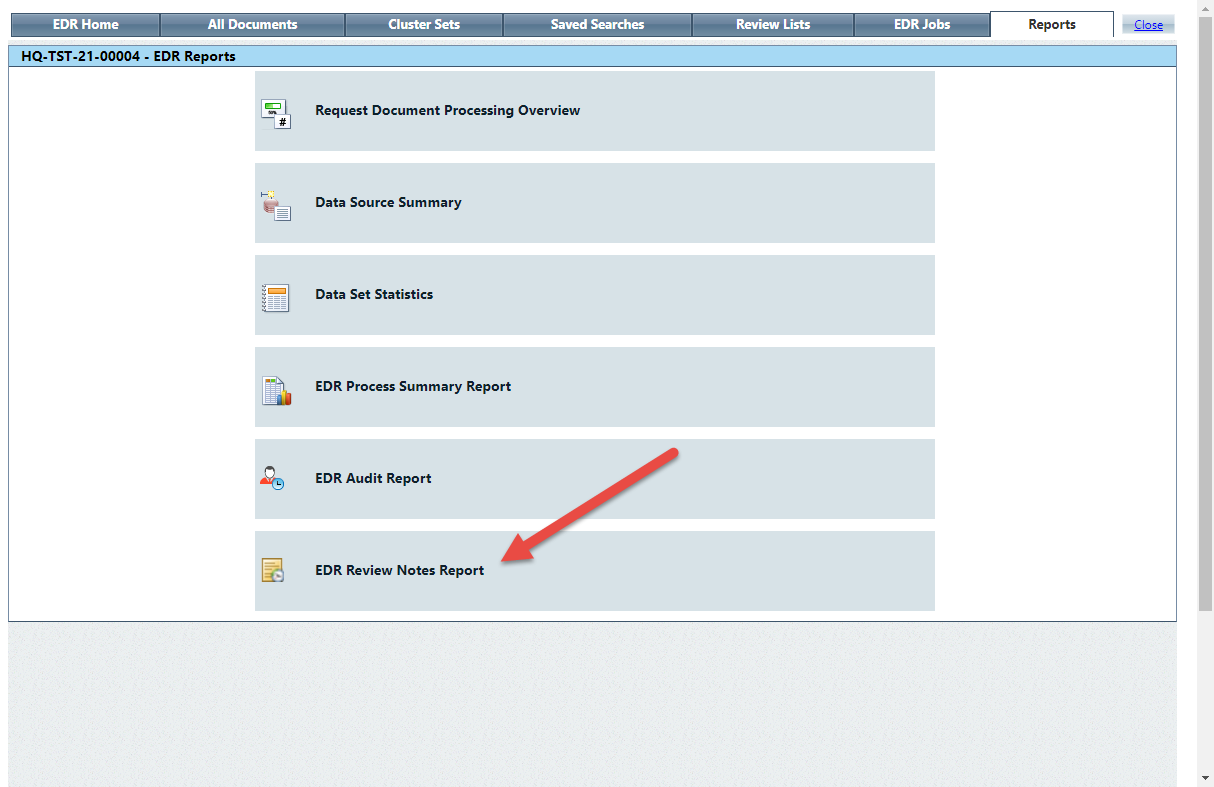
Open a Request to which documents have been added, then click Electronic Document Review > EDR Document Review.
Click the Reports tab. The Reports screen will appear. Click EDR Review Notes Report as shown below:
After clicking EDR Review Notes Report, the EDR Review Notes Report screen displays as shown below.
The fields on this screen are described in the table below:
Field
Description
Review Status
Current document review status
Document ID
Document ID
Reviewed By (Login)
User who entered the review notes
Page Count
Total count of pages in the document
Review Notes
Text of review notes
The actions available on the EDR Audit Report screen are described in the table below:
Action
Description
Print
Print all entries on the current page
Print All
Print all entries for this report
Export
Click Export to export the report. Options include Excel, Word, and HTML formats. You can click Save to save a local copy in the selected format, or click Email to send a copy of the report via email. See Print/Email/Export Reports for steps to Export/Email reports