Contents
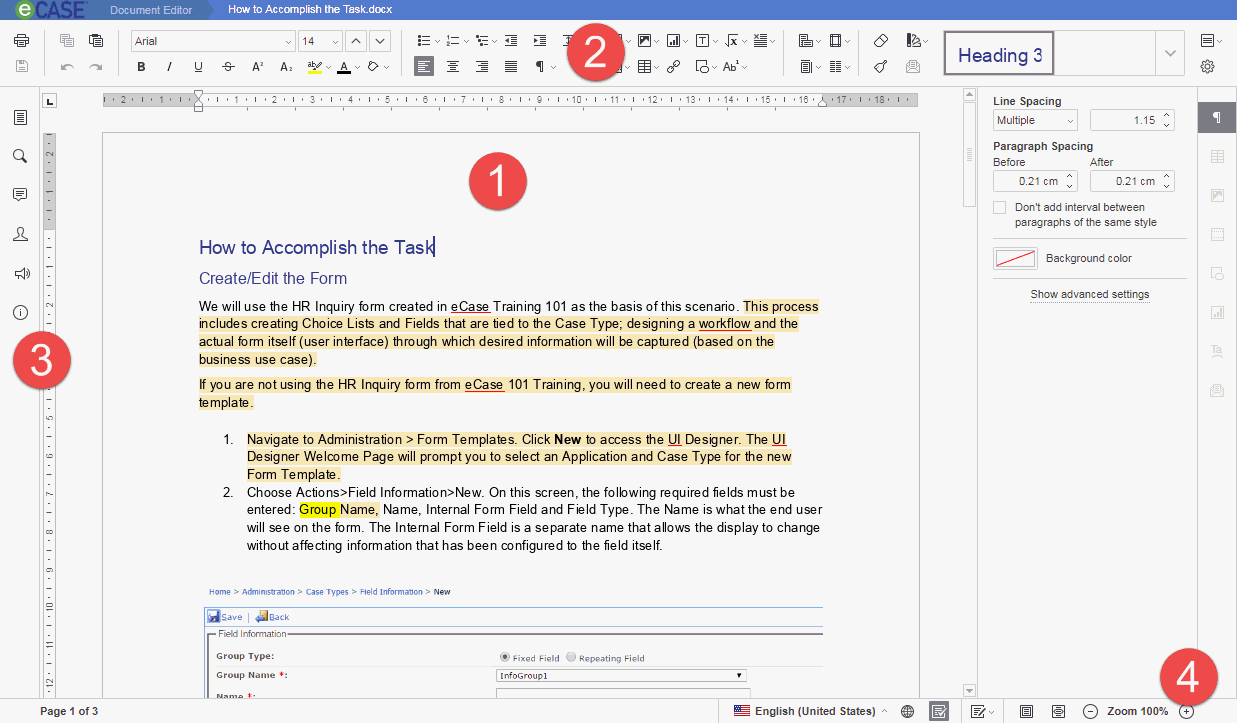
After selecting Collaborate from the Attachments tab, the collaboration interface will appear. Note that the collaboration interface appearance will change depending on the type of file used. A sample interface (Document Editor - opened from Microsoft Word) is shown in the screen below:

The interface is divided into four main areas:
Each of these portions of the interface are described in greater detail in the sections below:
The Collaboration Space is at the center of the Collaboration interface, literally and figuratively. This is where the actual document content lives, and where you will make the bulk of your collaboration actions. Simply click inside the Collaboration Space then edit the document as you normally would in the native format (Word, Excel, etc.)
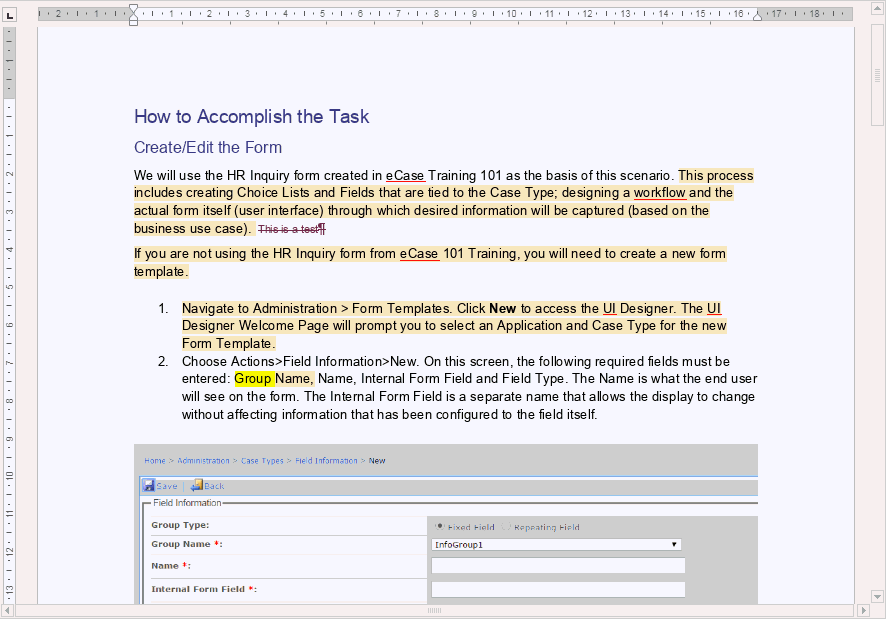
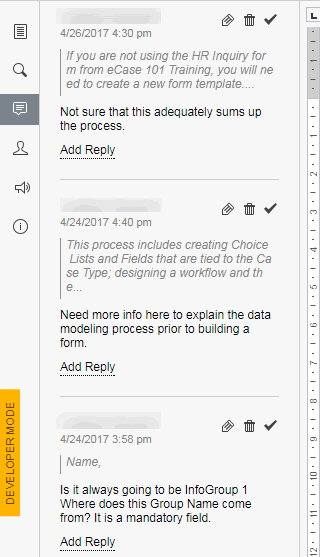
You can also view elements from the text, such as comments, by clicking these in the Collaboration Space. These will pop out within the pane for easy review.

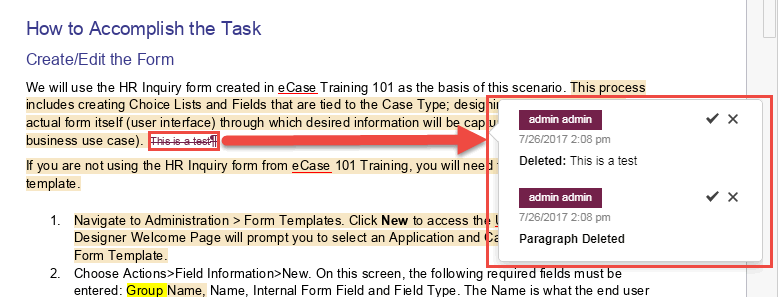
You can also review track changes (if this function is activated) within the Collaboration Space by clicking to see a history of the changes along with who made the change and when:
A suite of editing tools will be available to assist in the collaboration process depending on the type of file you are working with. MS Word-based documents will contain tools for working with Word documents, while Excel documents will include spreadsheet tools.
Sample editing tools are shown below. First is the Editing Tools for the Document Editor (MS Word):

In addition, a separate set of tools is provided when working with spreadsheets. A sample of the Spreadsheet Editor (MS Excel) is shown below:

For details on how to use the various editing tools, see the Help page for the Collaboration Tool. Select Advanced Options ( ) from the Editing Tools, then select Help... as shown below:

You can select from the various help topics listed on this page for help using the Editing Tools.
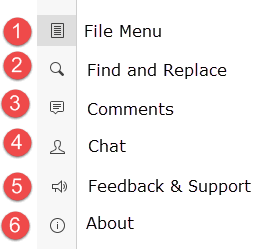
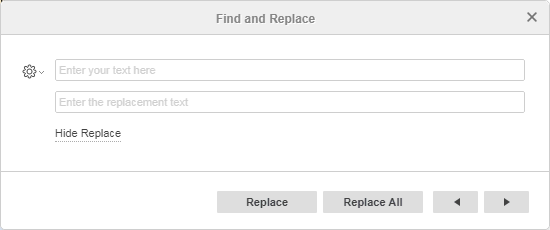
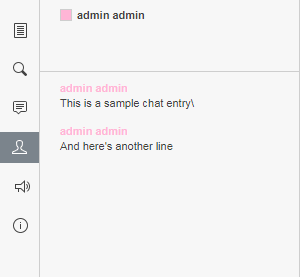
In addition to standard editing tools, the Collaboration module provides tools to assist with document collaboration. These tools are available on the left-hand side of the screen, as shown below:
Close Menu: Close the File Menu
Save: Save changes to the current document
Download as: Select from one of the available file types and download a local copy of the current document
Print: Print the current document to a local or network printer
Document Info: See basic data about the document (page, paragraph, word and symbol counts)
Advanced Settings: Customize advanced settings including comment displays, spell check settings, auto save options and more
Help...: See descriptions of specific collaboration features and how-to guides for using these features
In addition to editing and communication tools, the Collaboration module also allows you to change view settings for the document within the module itself. These options are present along the bottom of the workspace, as shown in the following image:
