Attachment Workflows
The Workflow feature allows the you to progress an attachment through a workflow, as well as delegate a task or view the history of the attachment.
(!!) Note: This option only appears if Workflows must be enabled for attachments in your eCASE environment in order for this option to appear
The Workflow menu contains the following menu options, and each is described below.
-
Assign Task
-
Complete Task
-
Delegate Task
-
History
Assign Task
eCASE allows authorized users to assign tasks to other users, compelling them to review or perform work within a case folder. To assign a task to a user:
-
Within the Attachments Workspace, click the Workflow drop down list.
-
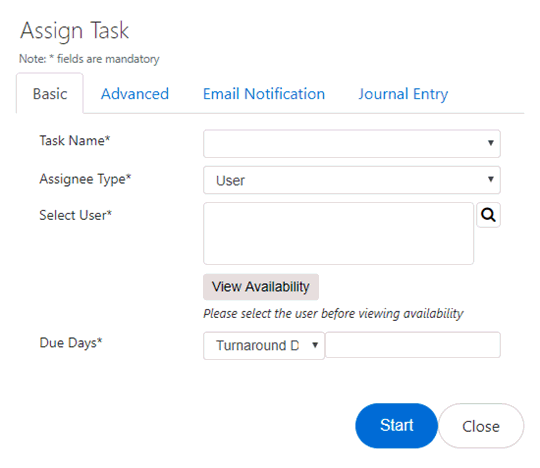
Select Assign Task. The Assign Task pop up window appears.
-
Select a Task Name from the Task Name drop down list.
-
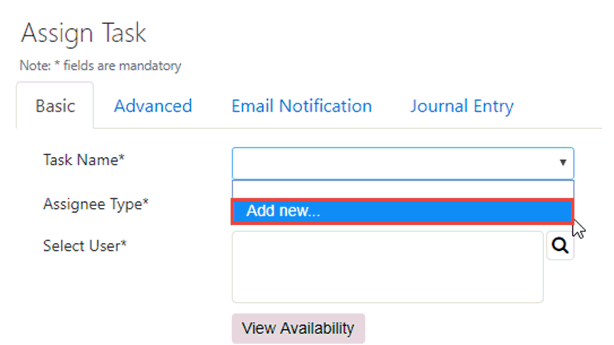
If no Task Names have been preconfigured, select the Add New option from the drop down list.
-
An additional pop up window appears. Enter a Task Name in the Task Name field and click OK.
-
The window displays the selected task name in the Task Name field. Select the desired Assignee Type from the Assignee Type drop down list.
(!!) Note: User is the default selection.
-
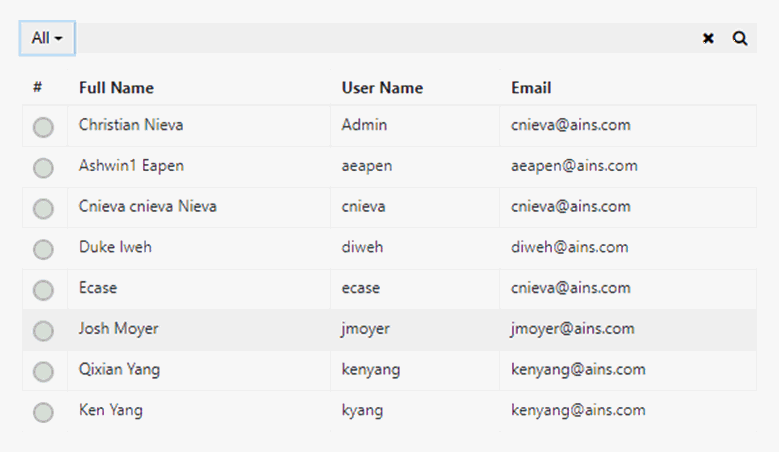
Click the Search icon to search for a user. A user list appears.
-
Click the radio button next to the desired assignee.
-
Click OK. The pop up window closes and the assignee name appears in the Select User field.
-
Enter the number of days until the assignment is due in the Due Days field. Users can select the nature of these days from the drop down list next to the field, as pictured below

-
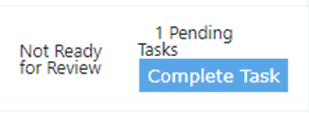
Click Start. The assigned user receives a notification that they have been assigned a task. Additionally, eCASE displays all pending tasks within the Attachment tab of a folder, as pictured below:
Assign Task Advanced Options
eCASE offers advanced workflow options beyond what is offered in the Basic (workflow) tab. To utilize the Advanced Assign Task options:
-
Within the Attachments Workspace, select an attachment and click the Workflow drop down list.
-
Select Assign Task. The Assign Task pop up window appears.
-
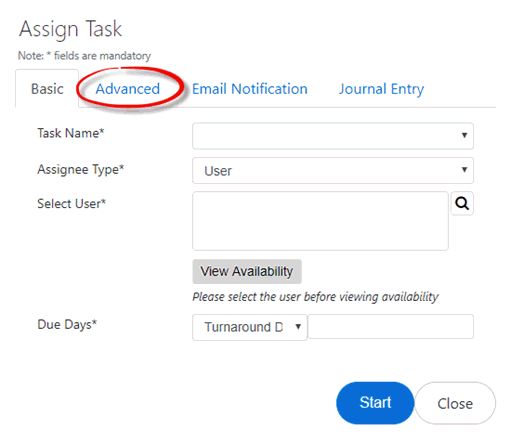
Click the Advanced tab.
-
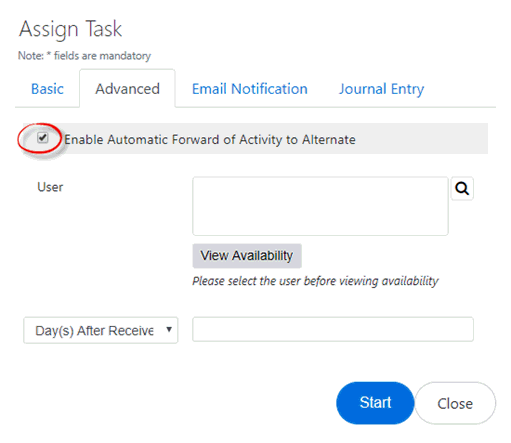
Click the Enable Automatic Forward of Activity to Alternate checkbox to expand the Advanced options, which allow authorized users to set an alternate for the task assigned within the Basic tab.
-
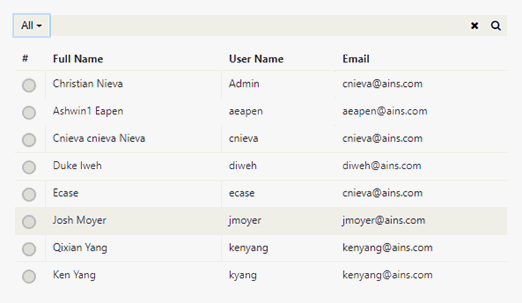
Click the Search icon to search for a user to serve as an alternate. An additional pop up window appears, displaying a list of the eligible assignees.
-
Click the radio button next to the desired alternate. Click OK.
-
Enter the number of days until the assignment is due in the Days field. Users can select the nature of these days from the drop down list next to the field, as pictured below:

-
If the fields within the Basic tab are complete, click Start to assign the task to a user. If additional work is required on the Basic tab, navigate back to the tab and enter any remaining required information.
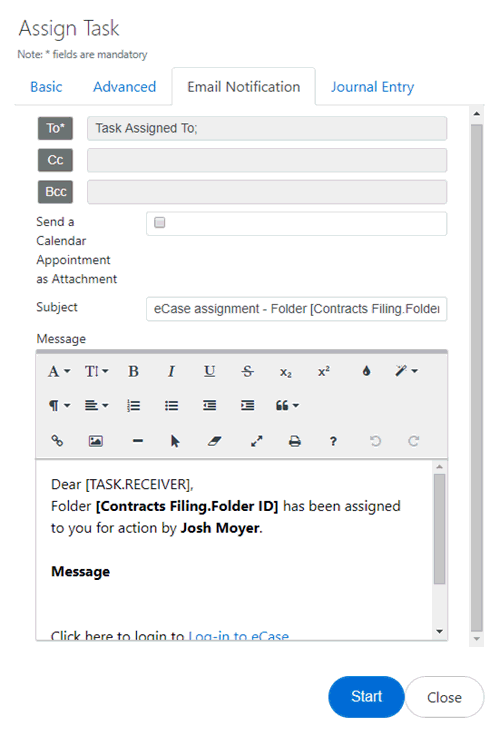
Assign Task Email Notification Options
eCASE offers email notification options to authorized users assigning tasks. To utilize the Assign Task Email Notification options:
-
Within the Attachments Workspace, select an attachment and click the Workflow drop down list.
-
Select Assign Task. The Assign Task pop up window appears.
-
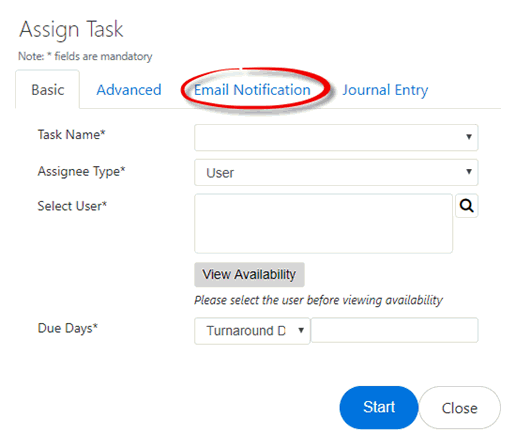
Click the Email Notification tab.
-
Select a user to receive email notifications in the To field
-
Click the Send a Calendar Appointment as Attachment checkbox to include a calendar appointment within the message.
(!!) Note: It is not recommended to alter the Subject field.
-
Utilize the text editor features in order to configure the Message.
-
If the fields within the Basic tab are complete, click Start to assign the task to a user. If additional work is required on the Basic tab, navigate back to the tab and enter any remaining required information.
Assign Task Journal Entry Options
eCASE offers workflow options beyond what is offered in the Basic (workflow) tab, allowing users to add Journal Entries to a task and explain the work being performed, or to notify other users of valuable information. To utilize the Assign Task Journal Entry options:
-
Within the Attachments tab, click the Workflow drop down list.
-
Select Assign Task. The Assign Task pop up window appears.
-
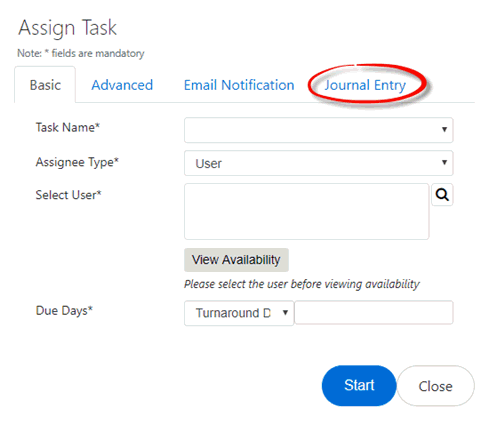
Click the Journal Entry tab.
-
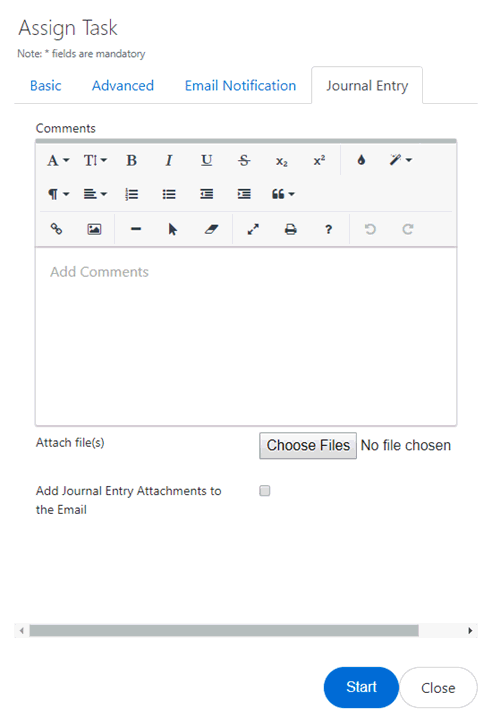
Utilize the text editor features in order to configure the Journal Entry.
-
If required, users can add attachments to the Journal Entry by clicking Choose Files.
-
The Open pop up window appears. Select the desired attachment and click Open.
-
The attachment appears underneath the Choose Files button.

-
If desired, users can add the selected journal entry attachments to the notification email by clicking the Add Journal Entry Attachments to the Email checkbox.
-
If the fields within the Basic tab are complete, click Start to assign the task to a user. If additional work is required on the Basic tab, navigate back to the tab and enter any remaining required information.
Complete Task
After a user has been assigned a task, eCASE prompts the user to complete the required task. To complete a task:
-
Within the Attachments Workspace, select the assigned attachments. These items display the Complete Task button in the right column, as well as a notification indicating the number of pending tasks assigned to that user for that attachment.

-
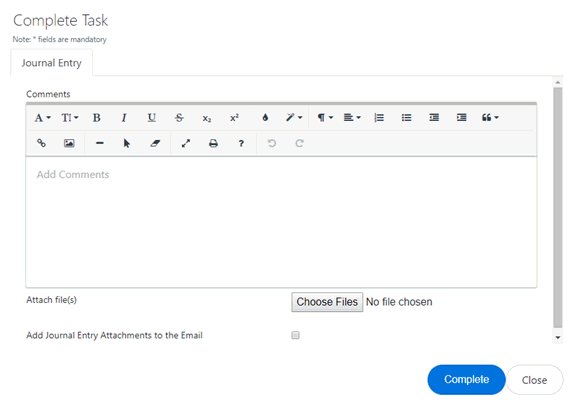
Click Complete Task. The Complete Task window appears. Alternatively, users can select the task, click the Workflow drop down list, and select Complete Task.
-
Use the text editor features to configure a Journal Entry indicating the work that was completed for the task.
-
If required, users can add attachments to support the Complete Task Journal Entry by clicking Choose Files.
-
The Open pop up window appears. Select the desired attachment and click Open.
-
The attachment appears underneath the Choose Files button.

-
If desired, users can add the selected complete task journal entry attachments to the notification email by clicking the Add Journal Entry Attachments to the Email checkbox.
-
Once the Journal Entry supporting the task activity is completed, click Complete. The pop up window closes and eCASE refreshes, and any completed activities are removed from the attachment entry.
Delegate Task
eCASE allows users to delegate assigned tasks to other authorized users when necessary. In order to assign a task, a user must have already been assigned a task. To delegate a task:
-
Within the Attachments Workspace, select the attachments that have tasks assigned to them. Attachments that have tasks assigned display the Complete Task button in the right column, as well as a notification indicating the number of pending tasks assigned to that user for an attachment.

-
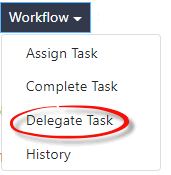
Click the Workflow drop down list and select Delegate Task.
-
The Delegate Task window appears. Select the Assignee Type from the Assignee Type drop down list.
(!!) Note: The default selection is User.
-
Click the Search icon to select a user.
-
A user list appears. Click the radio button next to the desired assignee.
-
Click OK. The User List disappears.
-
Click Delegate to delegate the selected assigned task to the user.
-
The Delegate User pop up window disappears, and the Attachment tab no longer displays the assigned task for this user. The recipient user receives a notification that the task has been assigned to them.
History
eCASE allows authorized users to view a history of assignments, completions, and delegations for an attachment. To view the workflow history for an attachment:
-
Within the Attachments Workspace, select the attachment.

-
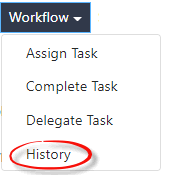
Click the Workflow drop down list and select History.
-
The Workflow History pop up window appears for the selected attachment. Users can review the workflow history, and click Close to close the window.


