The Journal Entries tab is available in all case folders. The Journal Entries tab displays all current Journal Entry information, and allows users to edit or delete existing entries. Unlike other tabs, clicking an entry does not select or open the Journal Entry. Alternatively, depending upon the instance, some eCASE configurations may display the Journal Entries tab as Notes, Memorandum, etc.
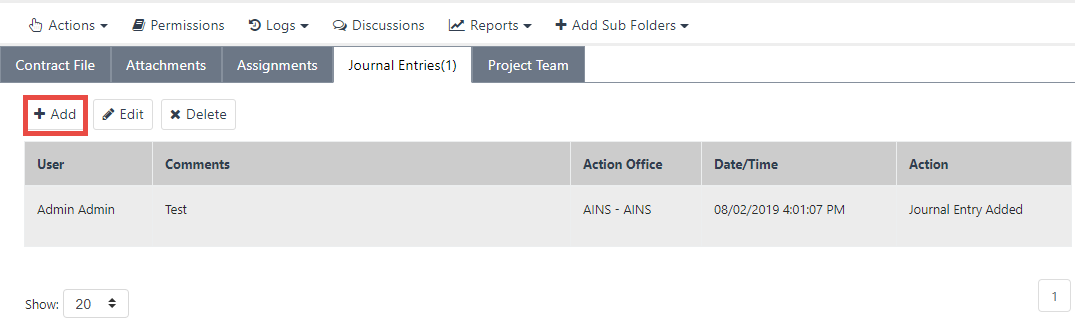
Within the Journal Entries tab, the page appears with any previously created Journal Entries displayed in the workspace. The folder ID is highlighted at the top of the screen. To create a new Journal Entry:
Click the Journal Entries tab.
Click Add. The Journal Entry pop up window appears.
(!!) Note: The system automatically generates the Entry Date, Time, and Name.
Add text within the Comments field.
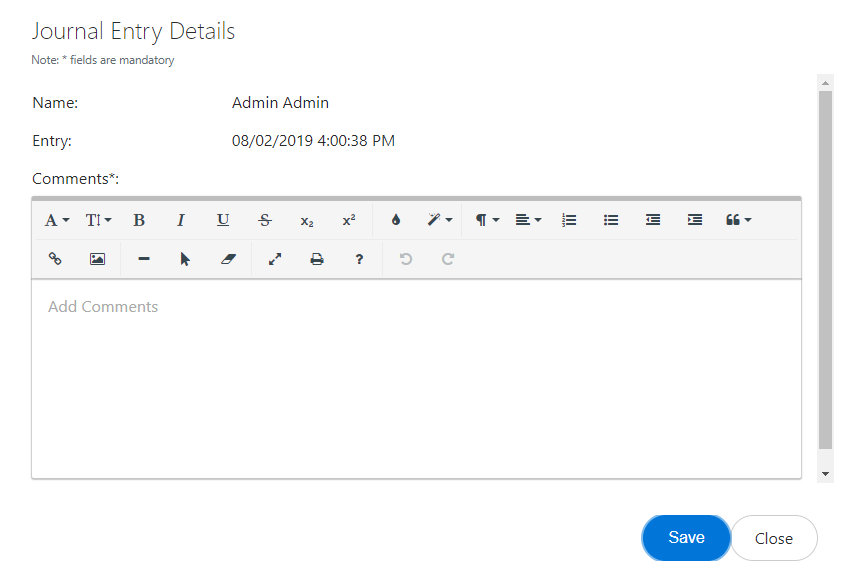
(!!) Note: The Journal Entry pop up window features a text editor. Users are not limited to submitting a plain text entry.
Click Save after sufficient information has been added to the Journal Entry. The Journal Entry is added to the case folder.
To edit a Journal Entry:
Within the Journal Entries tab, select the desired Journal Entry and click Edit. The Journal Entry Details pop up window appears.
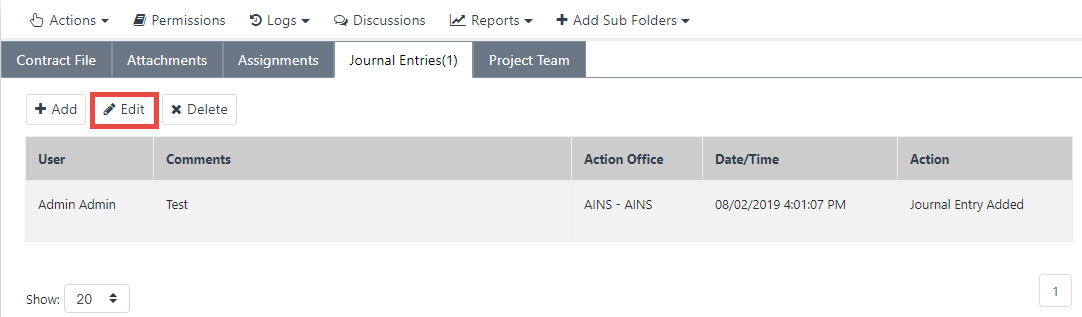
Within the Journal Entry Details pop up window, edit the text that requires correction.
Click Save. The updated Journal Entry is displayed in the Journal Entry tab.
To Delete a Journal Entry:
Click the red X button to the right of the entry to delete. The Deletion Confirmation pop up window appears.
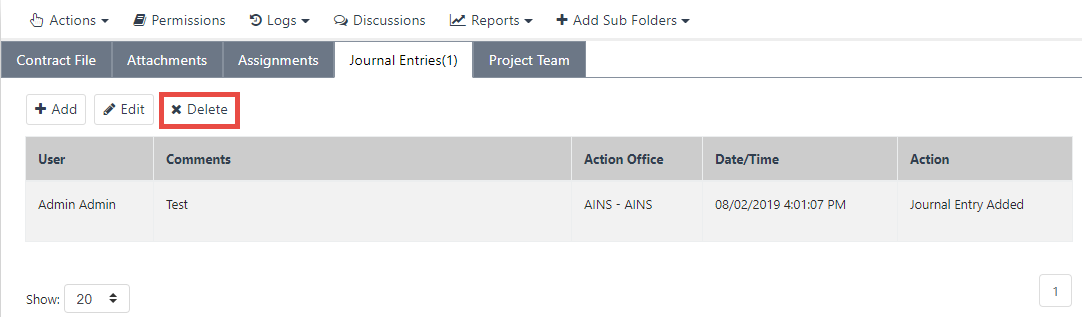
Click OK to permanently delete the Journal Entry.
The Journal Entry tab refreshes, with the selected entry removed from the tab.