The Calendar tab allows users to create, read, edit, and delete calendar events associated with an Office365 account. Sign in to Office365 by clicking Sign In with Office365 in the Calendar tab. If the user has already signed in with an Office365 account in the Email tab, they do not need to sign in again, unless the session has expired.
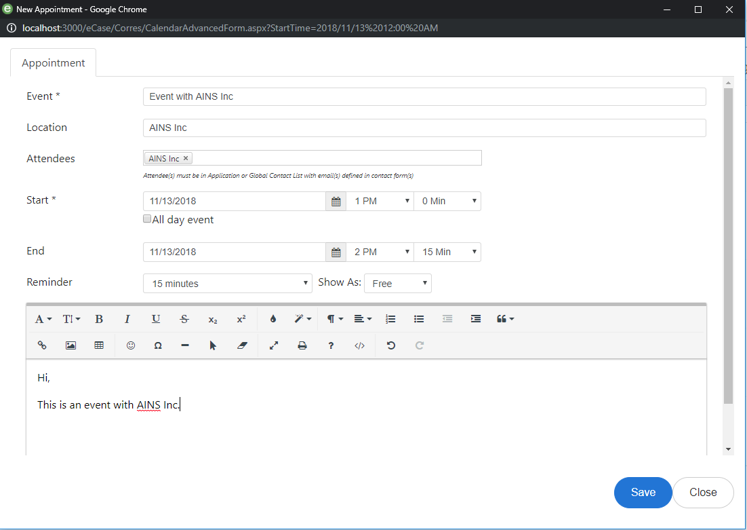
Users can create a new calendar event by first double-clicking the date of the event. A popup window appears and users can enter event information, as they would a typical MS Outlook Appointment, and click Save.
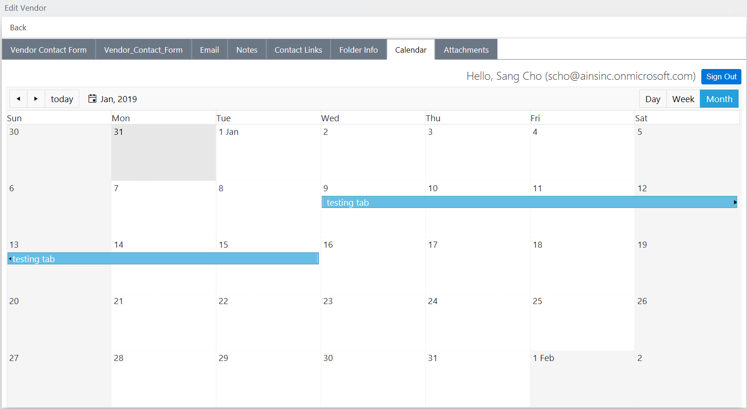
After clicking Save, the popup window closes and the Calendar tab refreshes to include the new event that has been created. If the event includes the contact as an attendee, the calendar event is highlighted with a green box. If an event is created without having the contact as an attendee, the event is highlighted with a blue box as shown below.

To update an existing calendar event, double-click the event. A popup window appears, displaying the event information. Users can modify any information and click Save to record the changes.
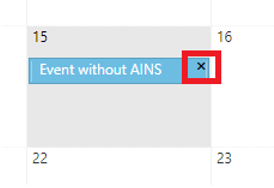
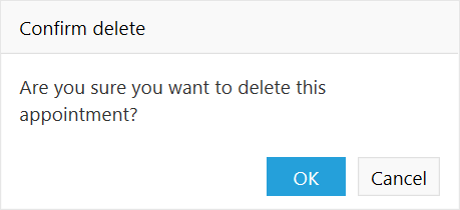
In order to delete an existing calendar event, hover the cursor over the calendar event. Click the X in the top-right corner of the event. A confirmation message appears. Click OK to delete the calendar event. The Calendar tab refreshes and the event is removed from the calendar.