The Toolbar is available from every case folder tab, and allows you to perform case actions depending of the selected tab. An example Toolbar is shown below:
![]()
The subsections below detail the functions available from the Toolbar. Note that not every option will be available on every tab, but the full list of available options are provided here.
Use the Save button at any time to save the case folder with the current status and content. Depending on the current place in the workflow, tab, and system configuration, you may be required to take specific actions or provide information before the folder can be saved.
The Actions menu allows users to select an action to perform on the case folder itself, or the selected tab. Click Actions from the Folder Page toolbar to view a list of actions you can take from the selected tab:
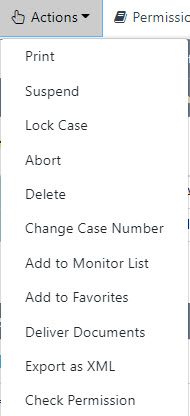
These actions are described in the following table:
|
Action |
Description |
|
|
Print the contents of the form tab. This option is only applicable to form tabs. |
|
Delegate |
Delegate the current task to another user, office queue, folder owner, or previous task assignee. Certain activities may have filtered options. |
|
Suspend |
Suspend the folder and prevent further actions on the workflow until resumed. |
|
Delete |
Delete the current case folder. This action is permanent and cannot be undone. |
|
Change Folder Number |
Change the Folder number. |
|
Add to Monitor List |
Add this folder to the dashboard, in the Monitor List widget. This feature must be turned on to be utilized. If the user has a custom dashboard then this option cannot be utilize. |
|
Add to Favorites |
Add this folder to the Favorites widget. This feature can only be utilized if the user has a default dashboard. |
|
Deliver Documents |
Deliver documents attached to the current folder user via email. |
|
Export as XML |
Export the current folder as an XML file. |
|
Start |
Start the workflow on the case folder. |
|
Close |
Close the case folder. |
|
Reopen |
Reopen a closed case folder. The case folder must be in Closed status. The Closed/Aborted Folder can be edited feature must be turned on in Case Features for this action to appear. |
|
Continue |
Complete the current task and continue the workflow to the next task. If there are multiple tasks assigned to the user, it will ask you to select the task you wish to continue. If the workflow is an ad hoc type, you will be given an Assign Task screen to create the next task in the workflow if there is not another task assigned. Please note, to use this action you must have “Continue on workflow” permissions granted. |
|
Lock |
Prevents any user from working on the case folder. No changes can be made to any tab. Please note, to use this action you must have “Lock/Unlock Folder” permissions granted. |
|
Abort |
Abort the current workflow. Case folder remains open for changes (if case type has “Close/Aborted folders can be edited” turned on). Folder Status will be set to ‘Aborted’ |
|
Check Permission |
Check the permissions on the case folder for any users who access to the Application. |
This menu option is used when the case folder requires unique permissions assigned to a user or group of users. There permission are not controlled by roles or general permissions granted during the case folder configuration.

If the case folder requires applying unique permissions to a user, click Set Unique Permissions. If a case folder has unique permissions, click the Folder Has Unique Permissions checkbox to grant or remove permissions for different users or groups.
This menu option allows you to view audit information for the currently selected case folder. The list of available logs depends upon your configuration, however eCASE typically features the following logs:
| Log | Description | Sample |
| Action History | Displays the list of actions performed by all users in the case folder. It also tracks the data changes when an audit is enabled for selected data fields | 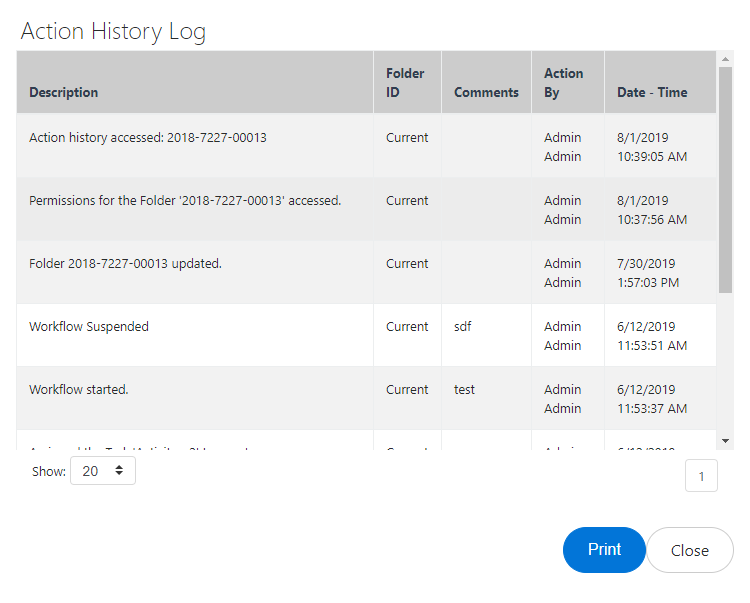 |
| Displays the list of all sent/received emails related to this case folder. | 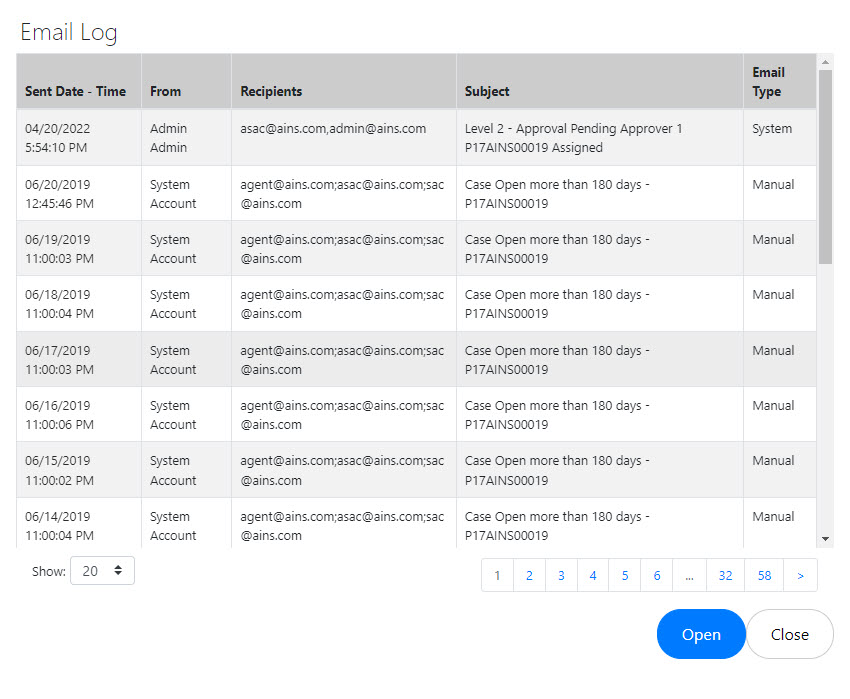 |
|
| Case Notes | A list of all Case Notes added to this Case Folder, along with a time/date stamp and who added the entry. | 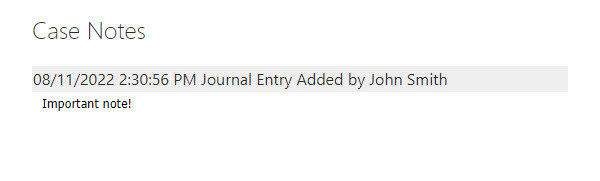 |
This menu option is used to run pre-configured reports against the case folder. The set of reports available is dependent upon the eCASE application, and is different than the set of reports available within the launch pad. Hover the mouse over the menu option, which expands to display a list of available reports. Select the type of report, and eCASE automatically runs the report and displays it within a separate pop up window. An example is displayed below:
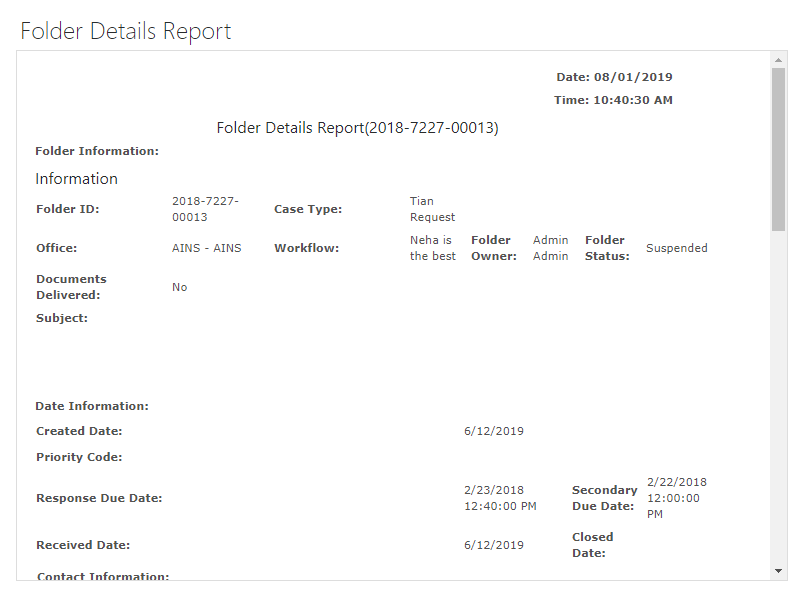
Within the pop up window, authorized users can Save, Print, or Email the report to another user. The Close menu option closes the pop up window.
Spell Check is an embedded tool that allows you to validate the spelling on manually entered information.
See the Spell Check section for details on using the built-in spellcheck feature.
This menu option returns you to the last page you visited. There is no confirmation window after clicking this menu option, and unsaved changes to the Case folder are not retained.